Great Site, excellent research material - time to put the research into practice so here goes, from start to finish - Has to be complete for 1st weekend in August!
DIY - Weekend and evening project / when rain allows.
Limited tools Spade, Pick axe and wheelbarrow for now!
Drainage and patio project underway.
Garden is soggy most off the year round - So plan to improve drainage with piping and soakaway/aquacells.
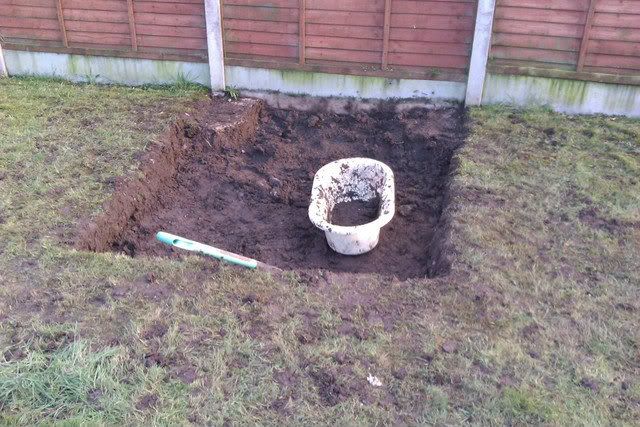
PIC 1 Project Started 4/3/2012 - Must Buy WheelBarrow!
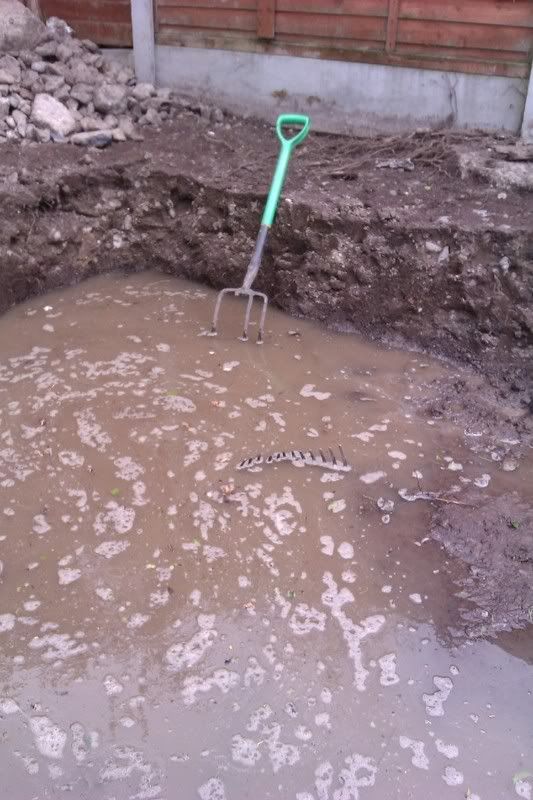
PIC 2 29/4/2012 After heavy rain test area 1 is holding water.. Test area 2 is 3.5m x 5m.
Plan is to sink 6 aqua cells in here 3m x 1m fill and patio. 10ft x 8ft shed on top.
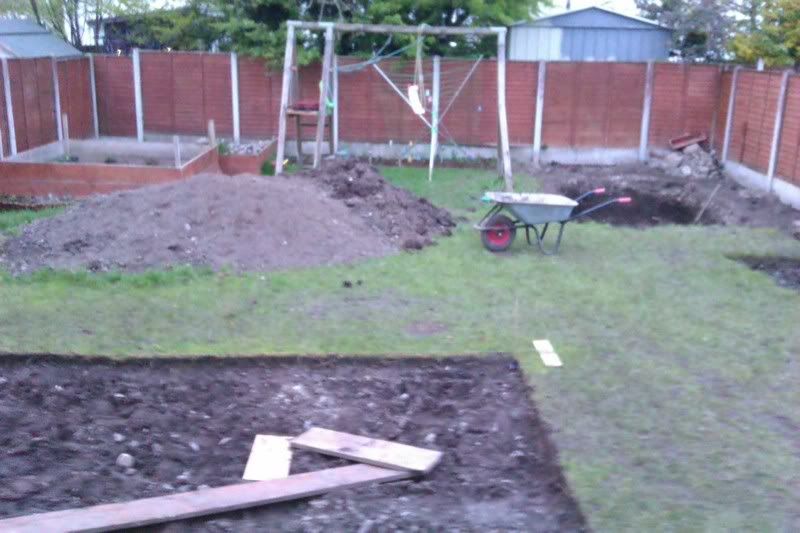
Check out the new wheelbarrow she's a beauty! Beats using the old baby bath eh?
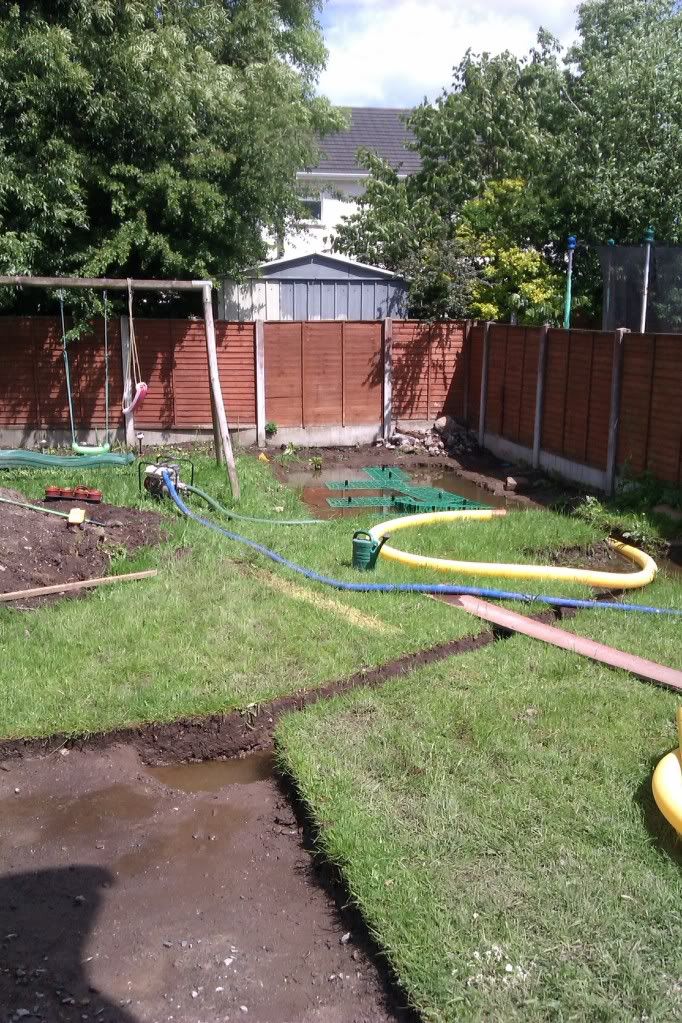
PIC 3 29/4/2012 Released water from test area 1 to 2. Test area 2 at this stage is approx 500mm deep. Water is soaking away.
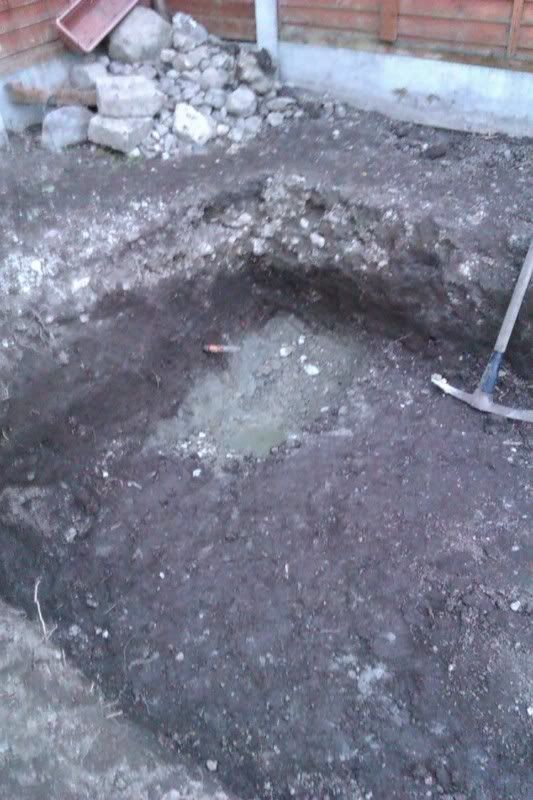
PIC 4 06/05/2012 Test area 2 soaking water well. Now overall depth approx 800mm. Digging deeper in the corner of this pic you will see soil has gone greyish lots stones very hard and would appear to be the water table @ 1000mm. Going on calculations of aqua cells depth being 400mm - 100mm gravel base - will I get away with 300mm on top. If use just clean gravel then more geotextile and sand bedding for slabs on top of that?
No traffic etc only a garden shed will be on that.
PIC 5 06/05/2012 Overview garden from patio doors - 1st dig removed the sods 3.5m x 6m Patio. Thinking about putting ACO Hex drainage channel between concrete path and outside back door and start of the new patio. Drainage routes to the aqua cells advice welcomed.
You'll get it or an equivelant brand from any JP Corry or McNuaghton Blair outlet both north and south of the border. Your test pits are bloody huge noting like a bit of overkill to work up a sweat. As long as it's just the patiothas being drained then it'll be fine but your soil is very poor to take much more water. I'd add a lot of grit to your lawn when you re do it so that it'll drain better and help prevent moss etc.
seems like a lot of work to drain your lawn. your lawn looks like it has never been maintained right. have you "forked" your lawn, ever?
get a good quality fork stand it upright and stand on it till it goes down as far as it can go, you might have to give it some force. do it all over the garden 6 inches apart, should be done annually. that should improve your drainage.
Pablo thanks for JP Corry contact I will give them a shout during the week.
Was'nt aware of the 2.5m from boundary but was aware of the 5m from house. It is were it is and will be staying there.
Lawn has been forked every year for the last 3years during the winter and spring improved drainage slightly. However soil here is very heavy almost bog (Turf) like!
I will be removing all the existing sods re-leveling adding grit and well rotted manure to improve soil condition.
From PIC 4 you can see I have hit the water plain @ approx 1000mm if I leave it @ 800mm and blind it with 10mm gravel by 100mm depth will that suffice as a base for the auqacells?
At 800mm the water is soaking into the water plain.
Being a DIY job I have managed to get rid of the 6tonne top sods and soil FOC (Beats paying for a skip and filling up the landfills)- Guy is delighted to collect it for DIY project of his own - he still needs approx 100ton! One mans rubbish is another mans treasures!
Thanks for all your advice so far....
Update 4 Months Later... 1st weekend August approaching FAST!
5 Ton 10mm Chippings & 7 Ton 804 10Euro a Ton Delivered.
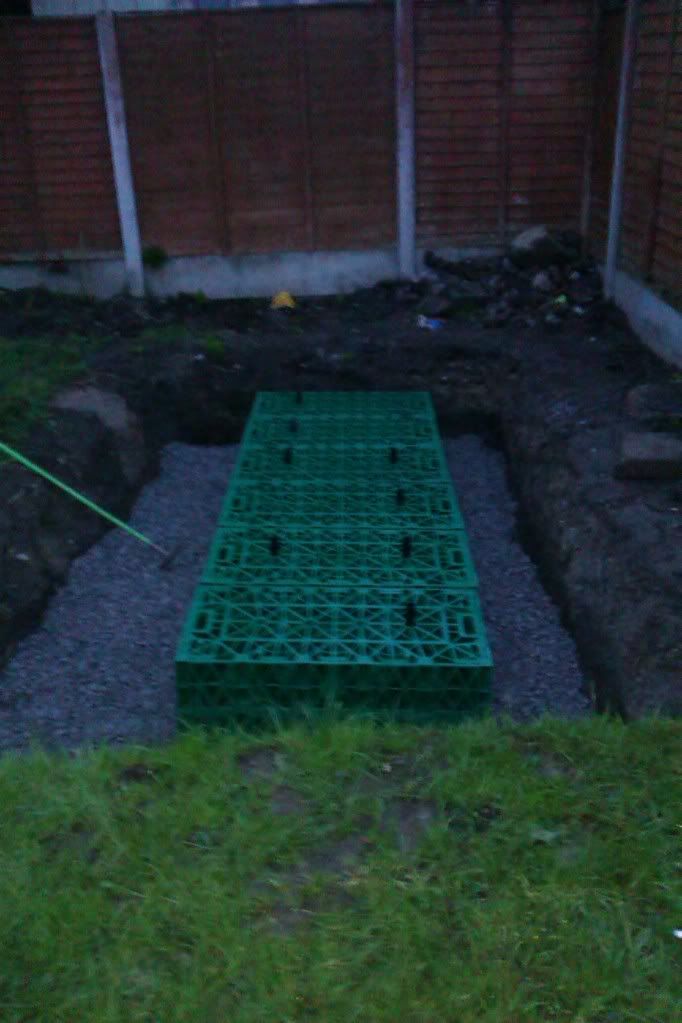
Crates in Postion - Pipes run to crates wrapped in NW50 and back filled with 10mm chippings.
Few weeks off rain set back....
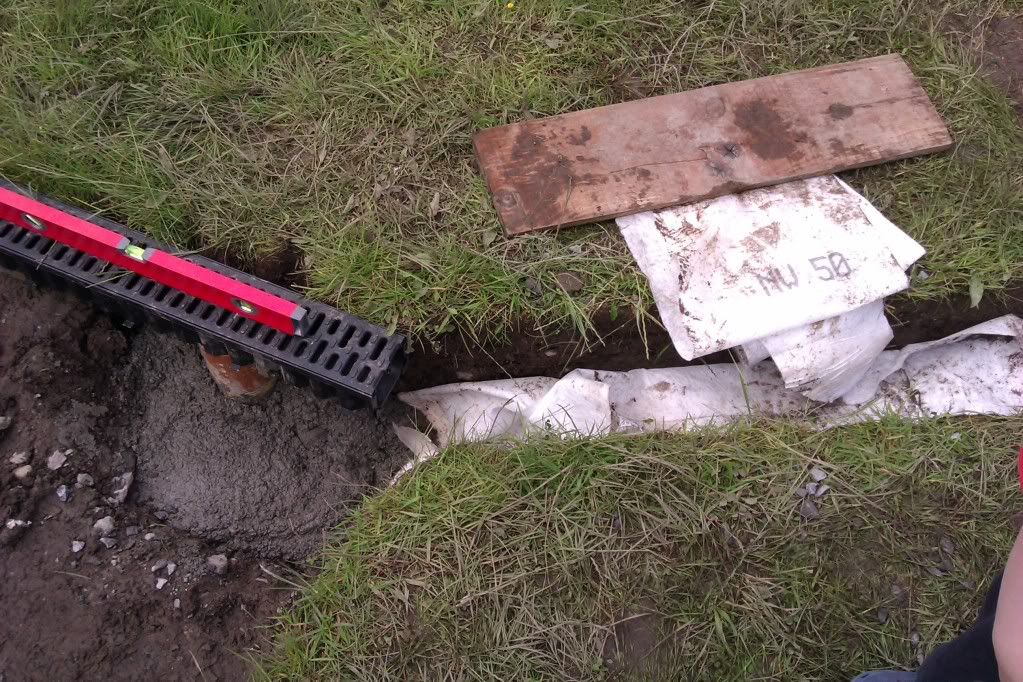
Patio 1 drainage pipe fitted and checked for angle / positioning.
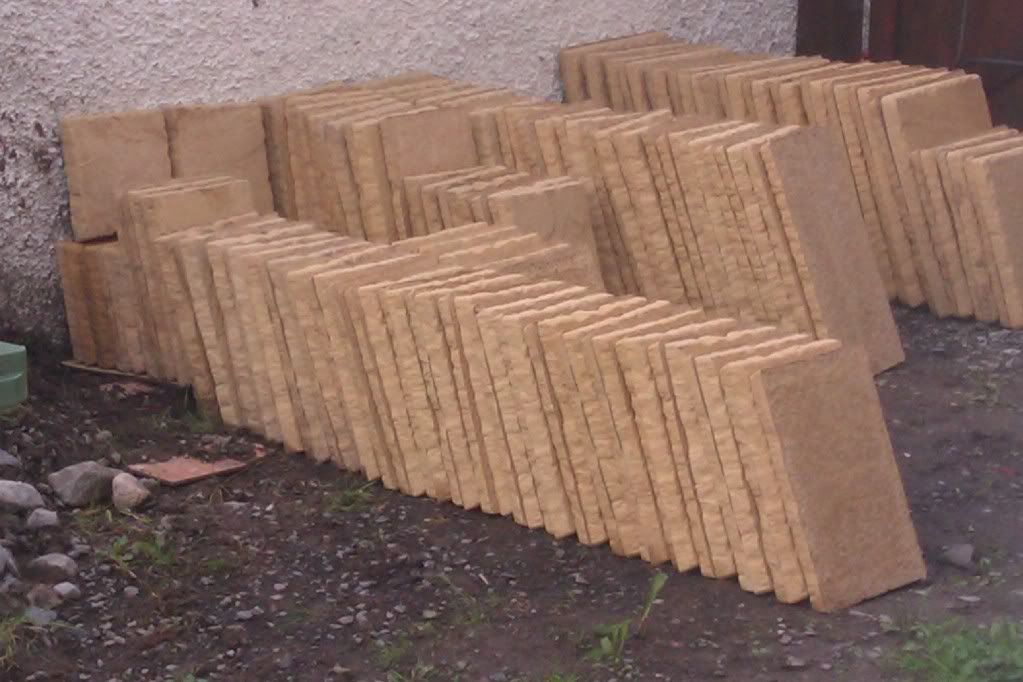
Best priced Slabs I could find. 14Euro m2. Called the guy (Gerry) ordered them up and he told me I would be getting x y & z of each quatity. Then up all night trying to work out a pattern to fit these using the + rule!!!! Nightmare in the end found the Bradstones Patio Designer 2010 it works a treat but does not use the + rule but does allow you to easy swop and change till you have a proper design. Explained this to Gerry and ordered the calculated Qty's.
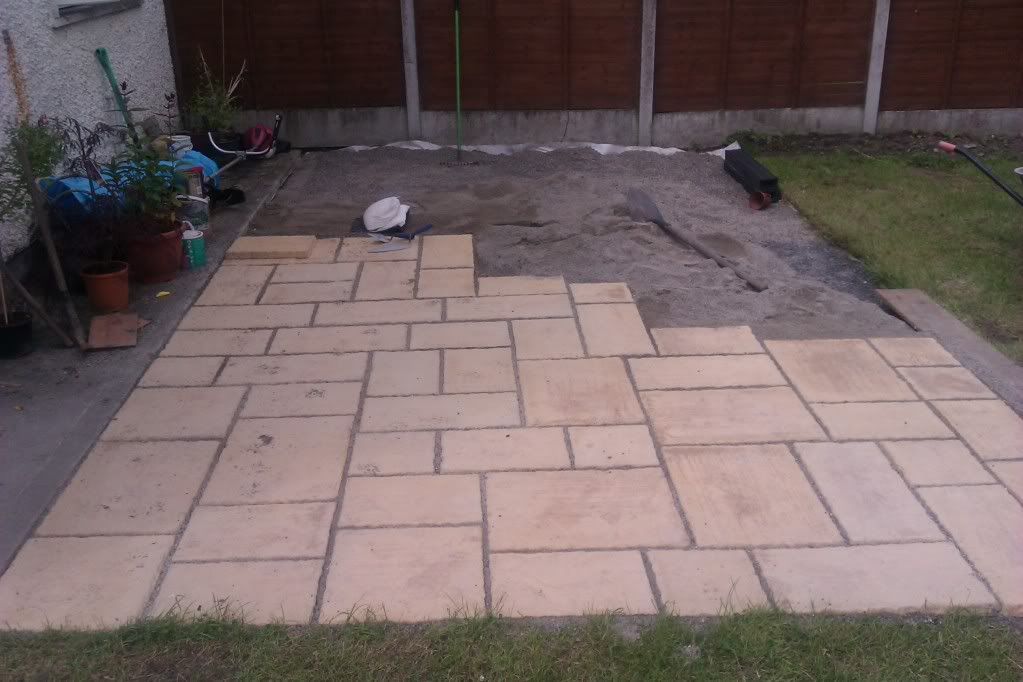
Slabs layed on 80mm 804 whacked to refusal then left to elimentes (RAIN) for a week, Good to see no pooling at this stage. Grit sand used for top layer.
Finished ready for grouting.
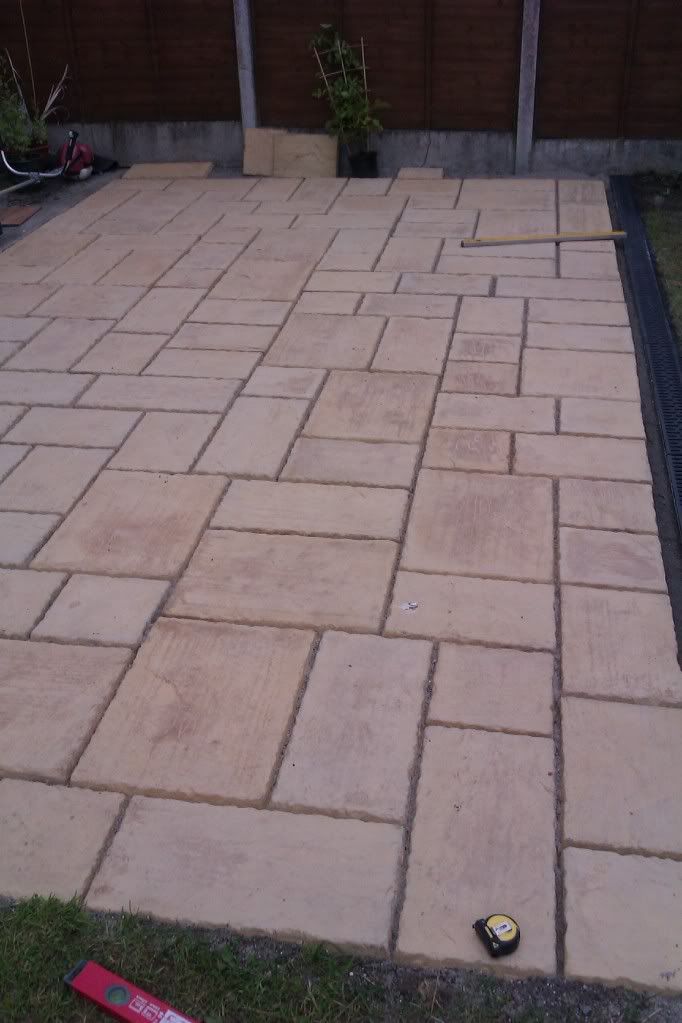
Grouting complete. I used Kiln Dried sand 25kg good shovel full of OPC and the same dye as in the slabs Gerry gave me.
This method I believe like 3 days of dry atmospheric conditions to dry best! Over here you cannot get three dry hours!
Tested it today and it's rock hard.
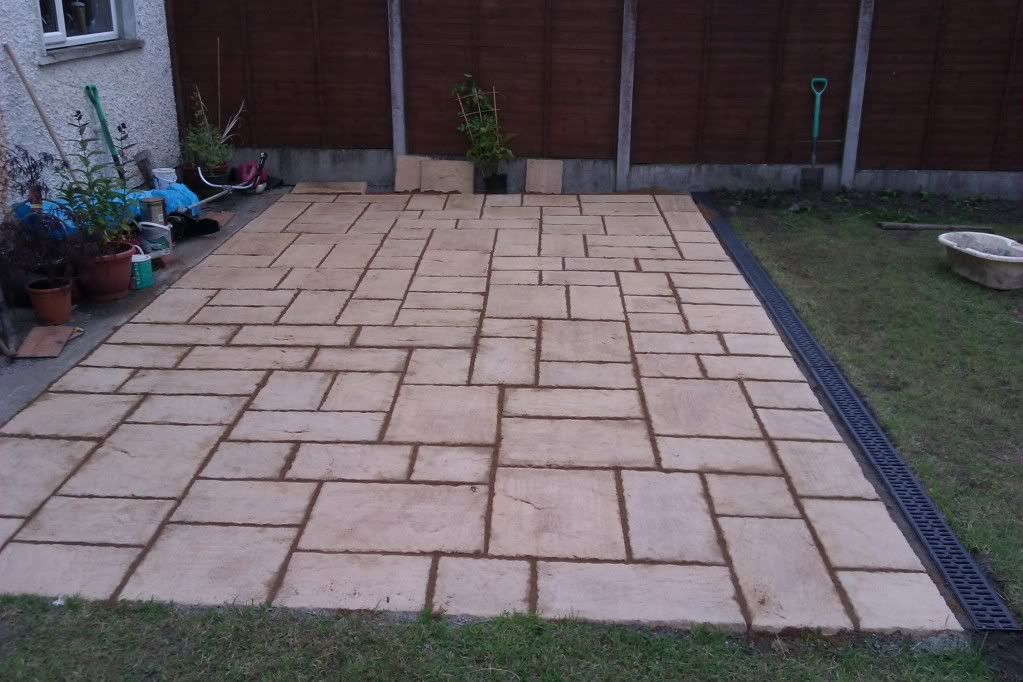
End of week is supposed to be dry - I will further point up between the slabs and drainage with the colour also.
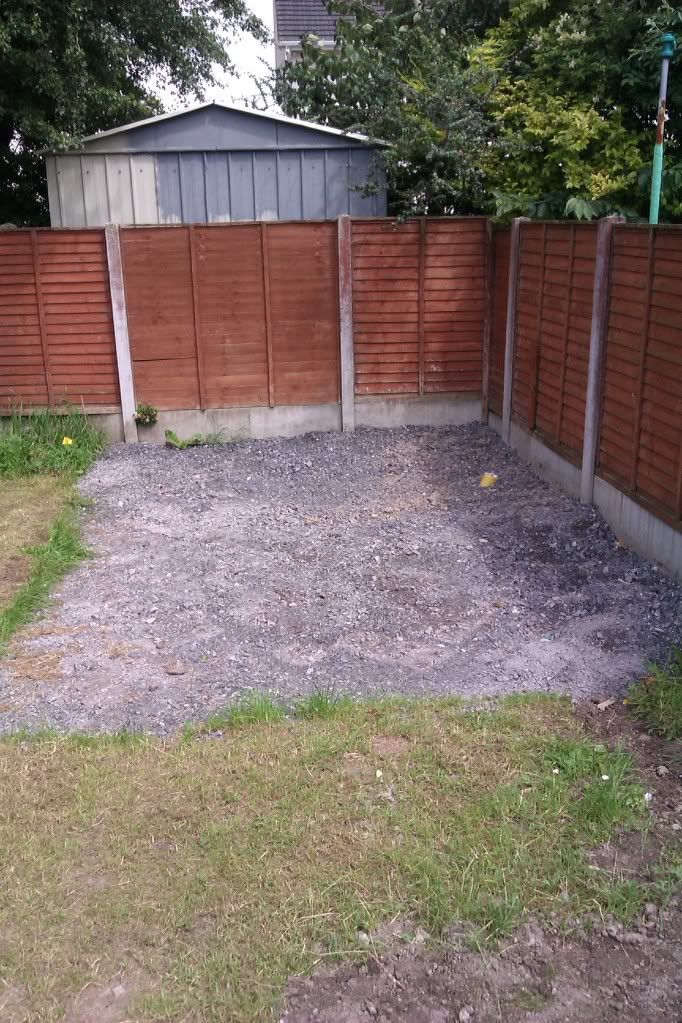
Under here are the 6 aquacells, with a feed from the patio, a feed going down the otherside of garden and straight accross the middle, also a feed straight down this side, so 3 pipes going into it, the pipe sticking out is to pump and reuse water, eventually will get a 1000litre storage tank using this, to water the garden.
Mind you not had to water the garden once yet this year.....
This weekends mission is to patio this area.
Its fair hard yacker! If you've got the money pay to get a professional Do-It!
Yes I did lay the slabs on grit sand, Personally not a fan of conrete.
Crates and drainage pipe wrapped in NW50 which is Terram 1000 equivalent.
that method of pointing or grouting is 100% sure to fail
Yeh bit pushed for time and money - so will make do and redo when needs redoing!
Did'nt start the slabs at the drain because I wanted them level from the path with a slight fall to the drain, they are all on the back line off the spirit level fall towards the drain.
in your opening post you said "great site good research material"
then you have disregarded most of what you read
Thats a bit harsh init LLL? I may have missed some of the finer points.
I know what your getting at though would be great if they finished flush to the drainage!
rich not trying to be harsh just honest
if you laid it on sand alone its fecked,
the grouting mixture ,was there any water in it,or did you brush it in dry? if it was brushed in dry its fecked
the crates in your photos look half backfilled with shingle but no sign of terram or equivalent ,the terram has to encompass the crates like a parcel to be effective,
maybe my eyes are tricking me on this one :;):
and finally if that patio falls to the drain then your fence must be well out of true :;):
dont want to be harsh but there are many many pages on this site telling DIYers what to do
for that patio it would have cost about 50 euro on cement
like i said fair play for having a go but when you redo it read the manual first please
all the best
LLL