Page 1 of 2
Posted: Wed Jun 17, 2009 3:49 pm
by mcelec
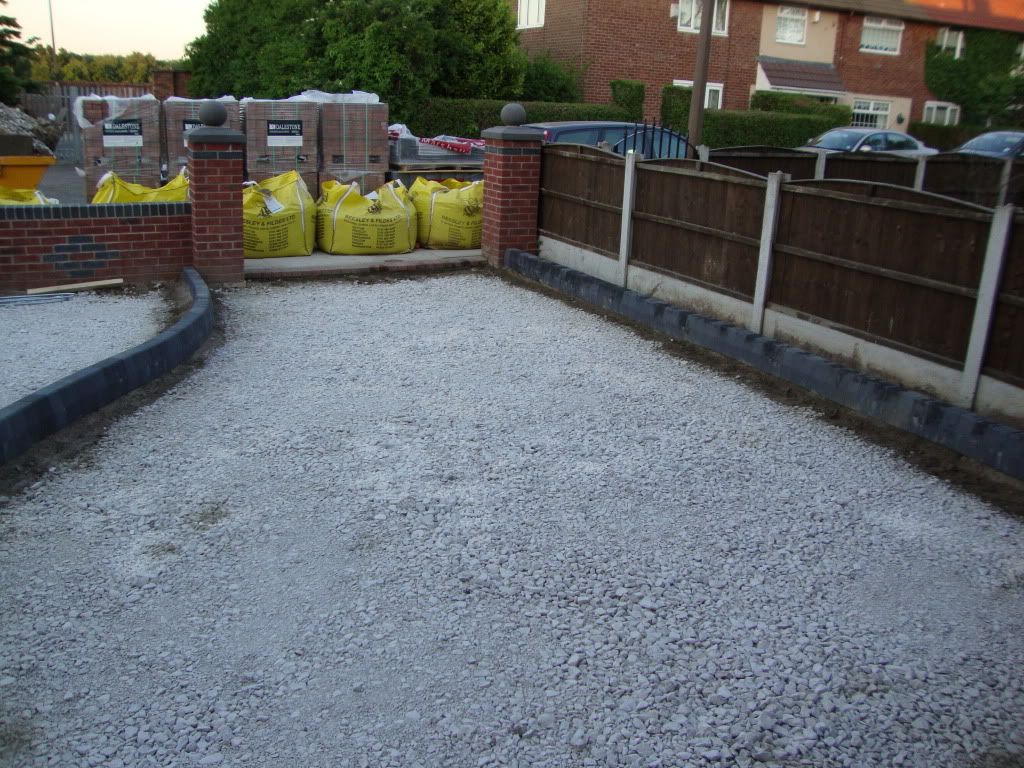
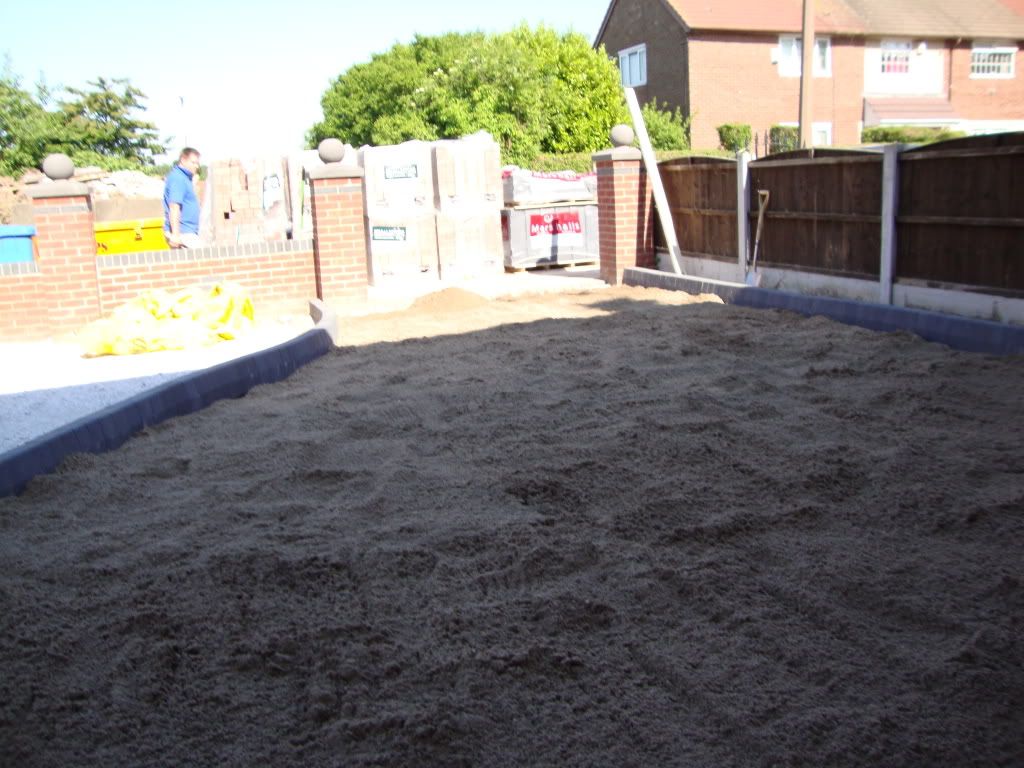
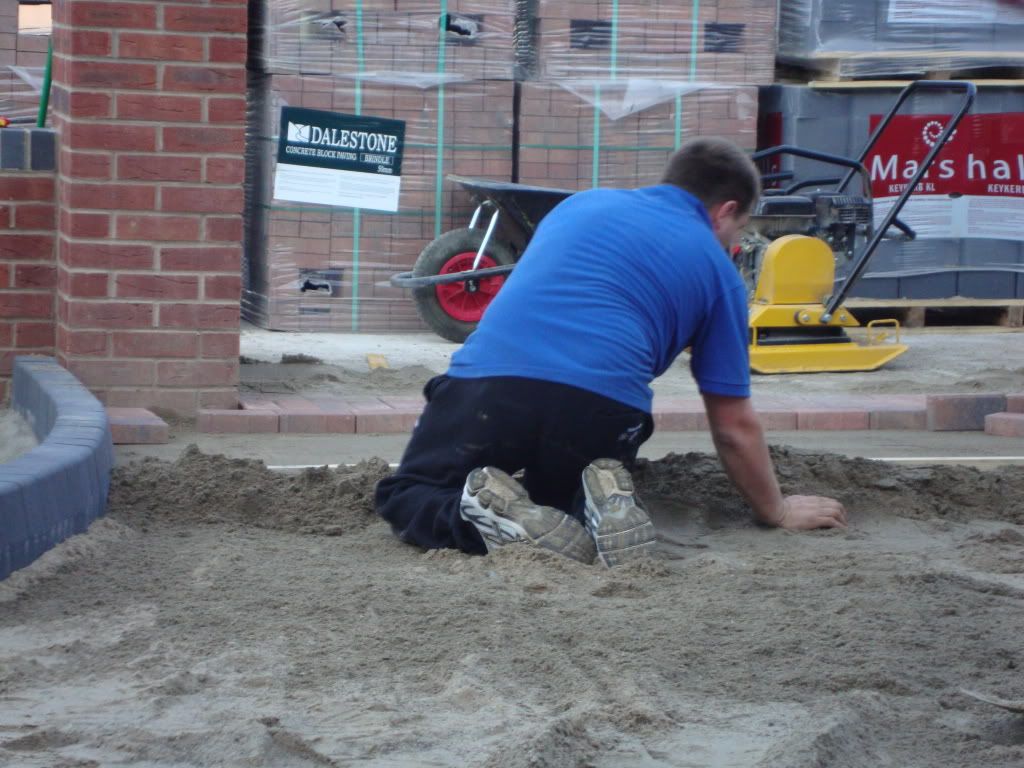
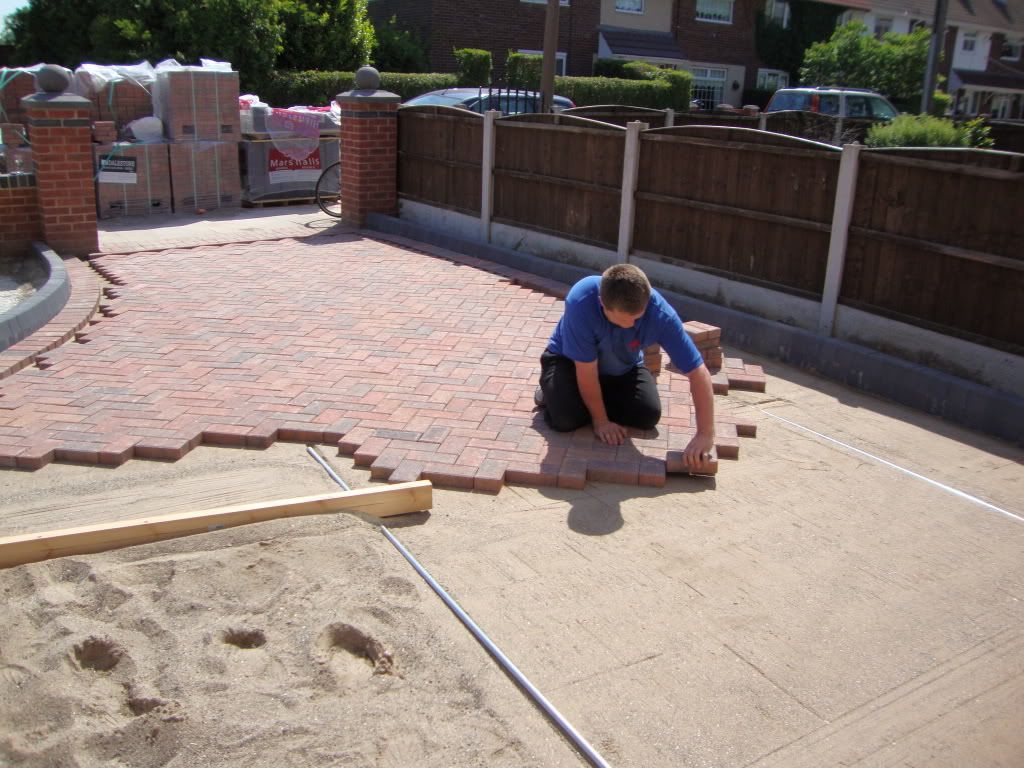
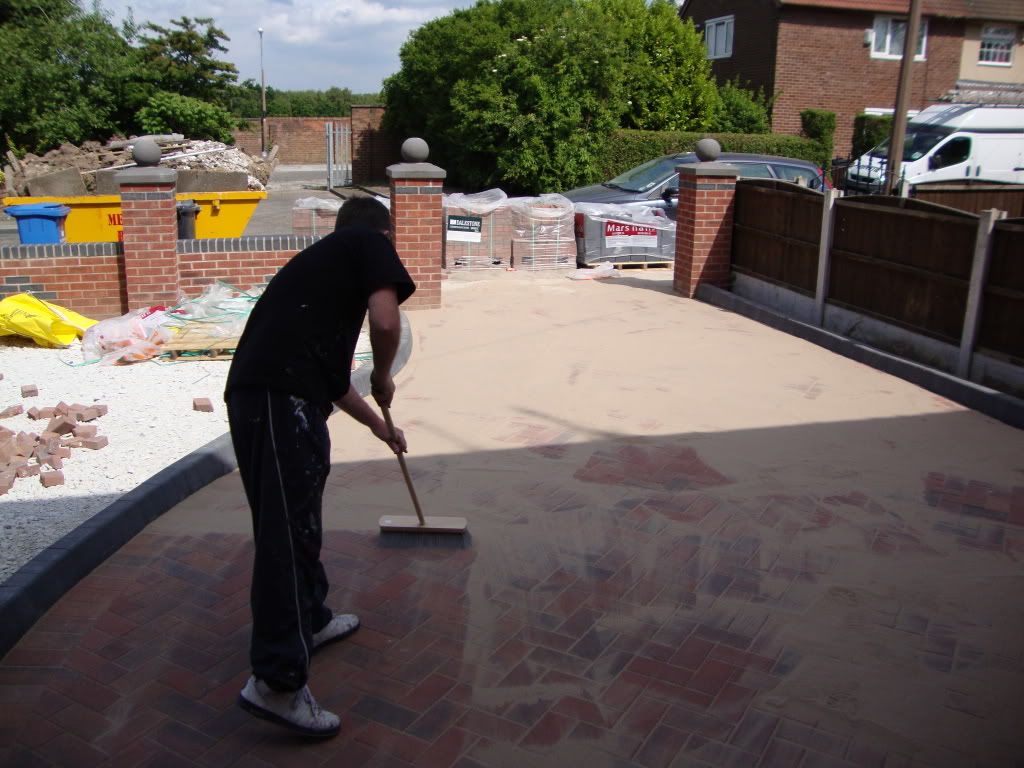
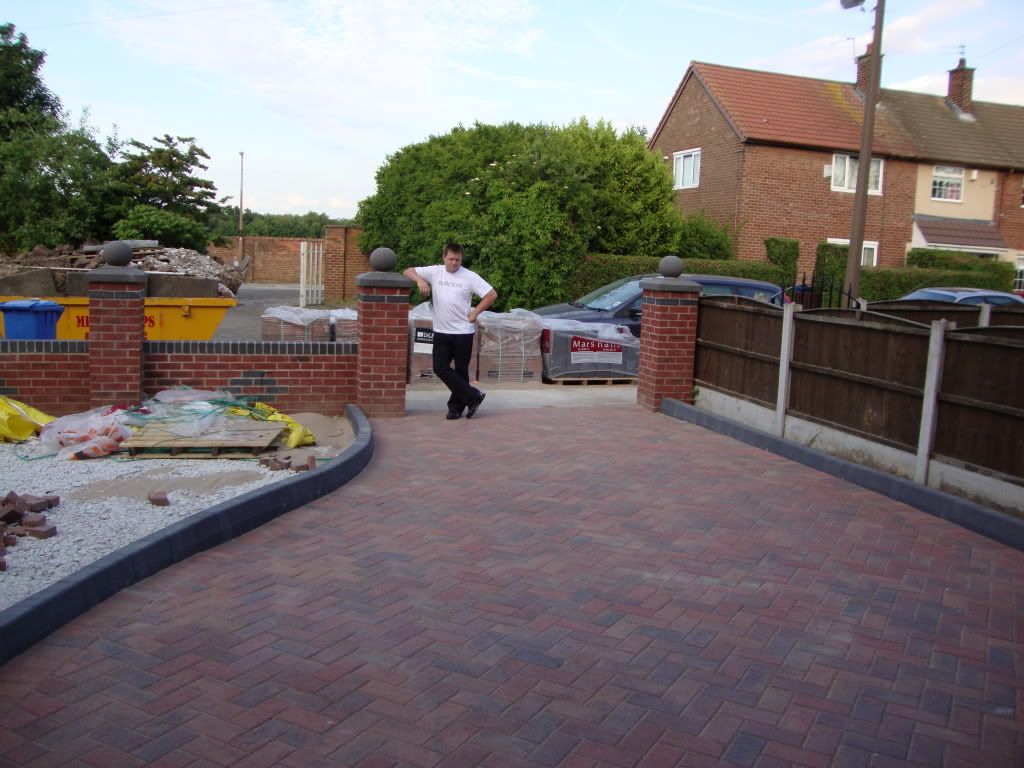
hi guys, as im sure most of you are aware i recently installed my own block paved driveway, its nothing too fancy as i went with the thinking of keep it simple and get it right! but would appreciate some feedback on whether you guys think it would pass as a satisfactory job!
"I Apologise for the size of the images does anyone know how i can make them smaller, is there a html tag i can use to alter the size?"
Posted: Wed Jun 17, 2009 3:52 pm
by mcelec
Posted: Wed Jun 17, 2009 3:54 pm
by mcelec
Posted: Wed Jun 17, 2009 3:57 pm
by mcelec
Posted: Wed Jun 17, 2009 4:41 pm
by Rich H
Great effort. When can you start 
Posted: Wed Jun 17, 2009 4:48 pm
by Bob_A
Looks great, well done 
Have you used a digger before? was it easy to use?
Posted: Wed Jun 17, 2009 5:11 pm
by msh paving
Nice job,45deg.as well,nice lines and cut's, MSH 
Posted: Wed Jun 17, 2009 5:26 pm
by mcelec
Great effort. When can you start 
cheers rich, but i think i will stick to my day job! lol a month or so of doing that and i think i would end up brown bread!
Looks great, well done 
Have you used a digger before? was it easy to use?
cheers bob, no ive never used one before, its a bit like a big toy! after half hour you get the hang of it! i found that the best thing to do was to use the bucket teeth to key the surface and then scoop up the loose bits and you end up with a fairly even surface, at first i was just digging holes all over the place, it looked a bit like the surface of the moon at one point!
Nice job,45deg.as well,nice lines and cut's, MSH 
cheers, i thought the 45deg would look better with the curved kerb, and a bit different to the neighbours as they have 90deg,
The cuts probably took as long as laying all the other blocks! i altered the pattern in areas to ensure that none of the cut pieces had no less than 3 manufactured sides so that i would avoid needing to cut any little tiny pieces!
Posted: Wed Jun 17, 2009 5:33 pm
by dig dug dan
did you put a drainage channel in, or does it drain onto the highway?!:p
Posted: Wed Jun 17, 2009 5:36 pm
by msh paving
dig dug dan wrote:did you put a drainage channel in, or does it drain onto the highway?!:p
You don't ask questions like that dan................ ???
MSH 
Posted: Wed Jun 17, 2009 5:42 pm
by mcelec
dig dug dan wrote:did you put a drainage channel in, or does it drain onto the highway?!:p
:;): keep it simple
Posted: Wed Jun 17, 2009 5:50 pm
by Pablo
Ha Ha did the skip company lift that skip or did you have to empty it a bit. If you did that here they would tip it out until it was level then take it away. It looks like a good effort well done but I'm a bit concerned about how little stone and how much sand you have used. The sand also looks like it 's not been compacted enough before screeding. It may just be the photos and if you have done it right then I apologise. The finish looks grand though.
Posted: Wed Jun 17, 2009 10:19 pm
by williams
Looks very very good for diy and much better than some of the 'pros'
I,ve got to say though it looks like your going to get a huge puddle by that left pier, it may be the photo but i cant see where that waters going to go.
Posted: Wed Jun 17, 2009 10:38 pm
by mcelec
Pablo wrote:Ha Ha did the skip company lift that skip or did you have to empty it a bit. If you did that here they would tip it out until it was level then take it away. It looks like a good effort well done but I'm a bit concerned about how little stone and how much sand you have used. The sand also looks like it 's not been compacted enough before screeding. It may just be the photos and if you have done it right then I apologise. The finish looks grand though.
haha the skip got bigger before it went!
theres 20t of mot1 the minumum depth under the drive is 150mm and i dug out a couple of spongey spots! and filled them with mot1
i used just under 5 tonne of sand, its approx 35mm when it was compacted, passed over it twice with the compactor so that is wasnt quite compacted to refusal, the first picture of the bedding layer was before compaction! and i think it looks under compacted on the picture of the screeding becuase i used my shovel to "flick" the sand built up behind the screed timber across the un-screeded area to make it easier to draw the timber along and to avoid creating a big pile up of sand!
Posted: Wed Jun 17, 2009 10:44 pm
by mcelec
williams wrote:Looks very very good for diy and much better than some of the 'pros'
I,ve got to say though it looks like your going to get a huge puddle by that left pier, it may be the photo but i cant see where that waters going to go.
the driveway has a slight slope from the side as i spotted the area behind the pillars as a potential "dam" to hold water.
i have been quite lucky with the weather because the week i spent intalling the drive was dry and hot, and since then it has rained most days, today it absaloutly belted down! and not a puddle anywhere, put a coin on the surface and the surface water was not higher than the surface of a 20p
my neighbour had his proffessionally done and was as usual out today sweeping his puddles out of his drive!


