Page 19 of 315
Posted: Thu Apr 14, 2011 9:11 pm
by lutonlagerlout
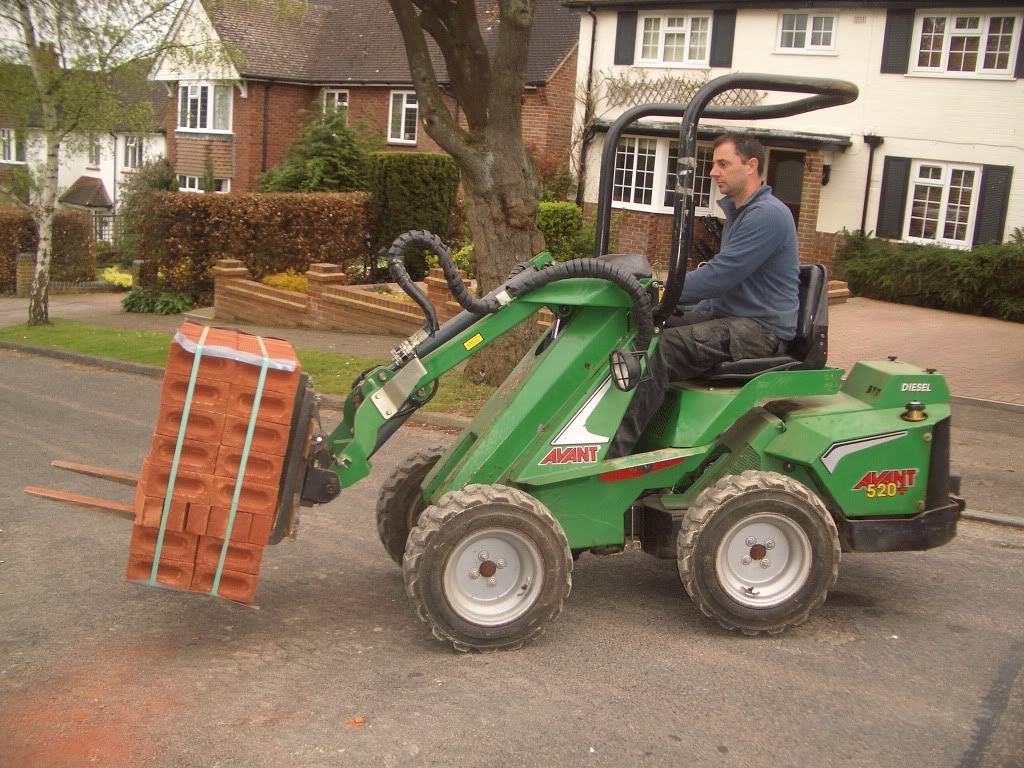
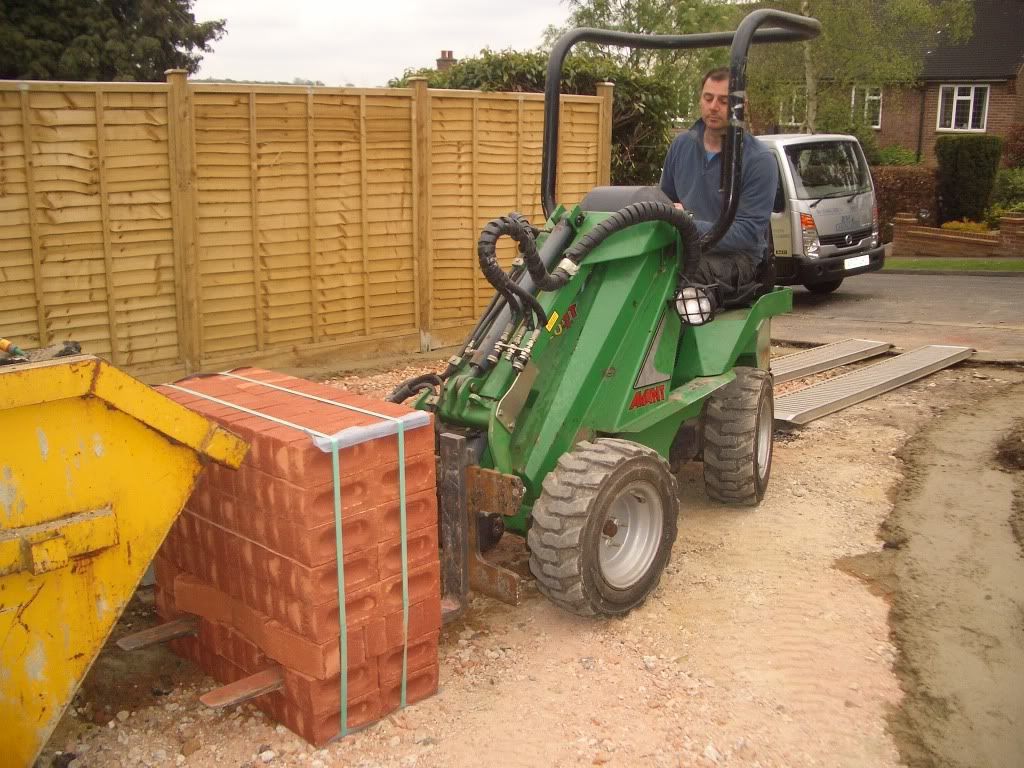
that is indeed, an identical handler to the guy we use dan
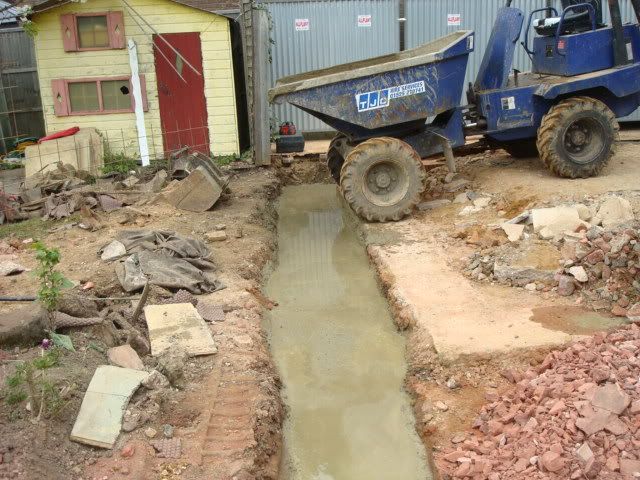
I wont pass any comment on the step footings ,other than to say its obvious it wasnt a bricklayer that laid them :;):
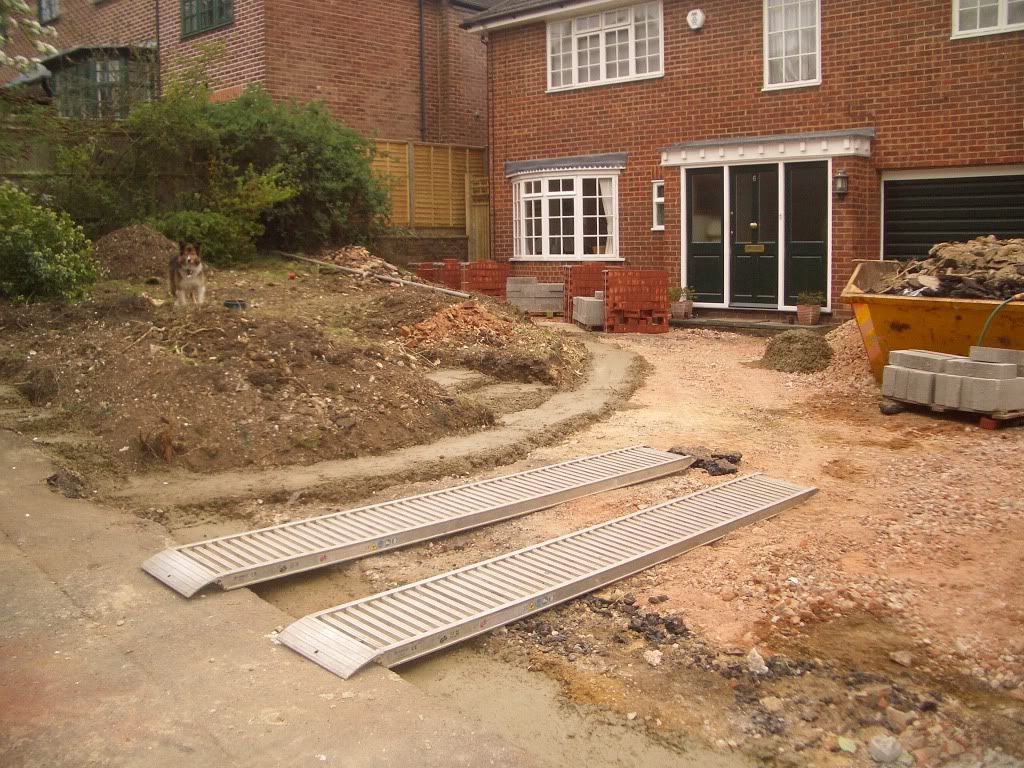
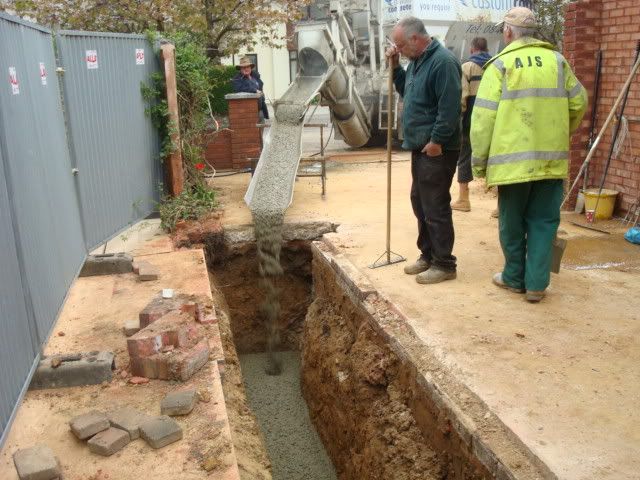
we were 2 cube short today and the ground workers said "we can just step it down"
i said "lets just get another 2 cube"
you have certainly cracked on in a week,I bet the client is happy
LLL
Posted: Thu Apr 14, 2011 9:21 pm
by dig dug dan
I wont pass any comment on the step footings ,other than to say its obvious it wasnt a bricklayer that laid them
AH! i am glad you spotted that. Although it doesn't look it,
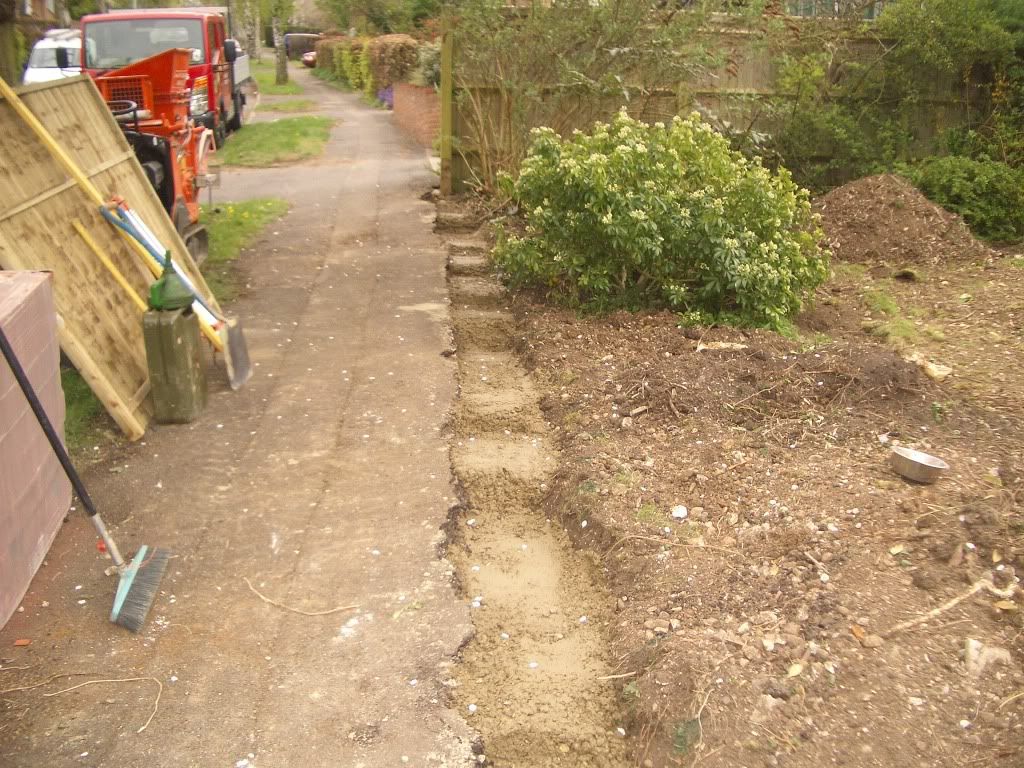
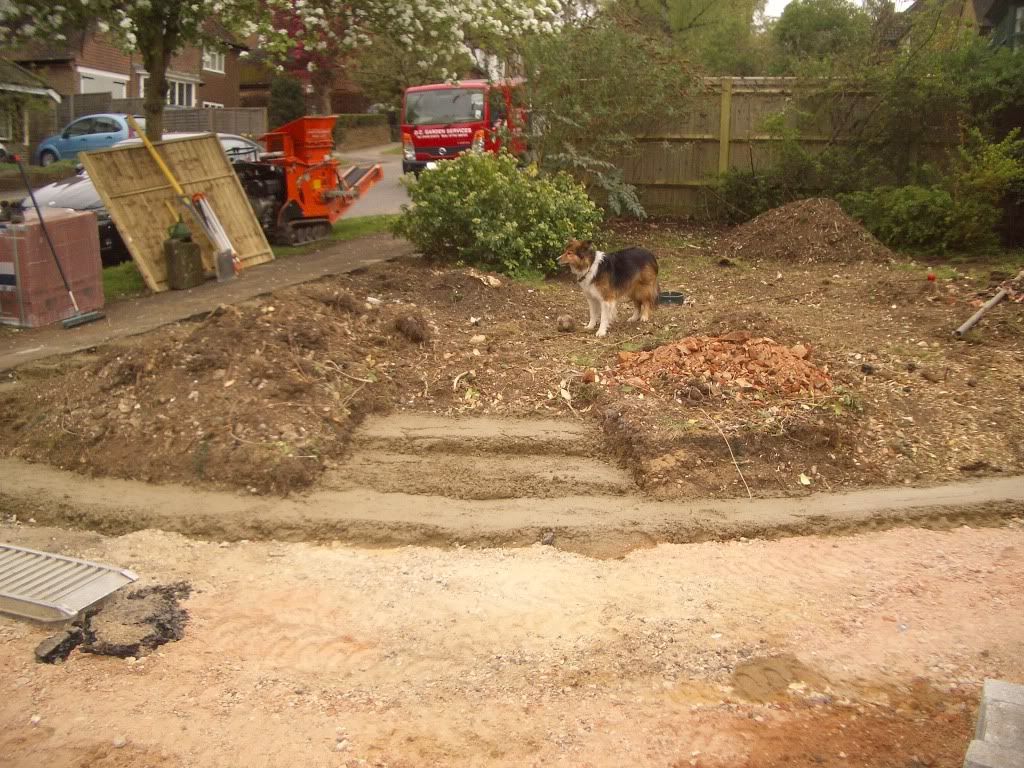
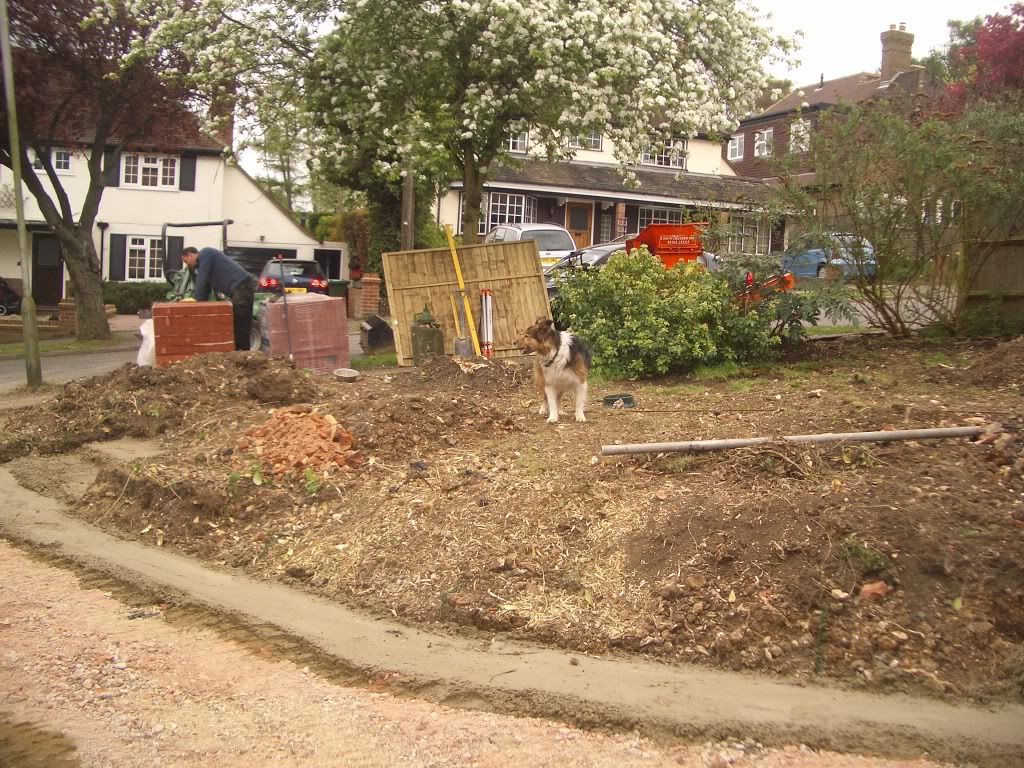
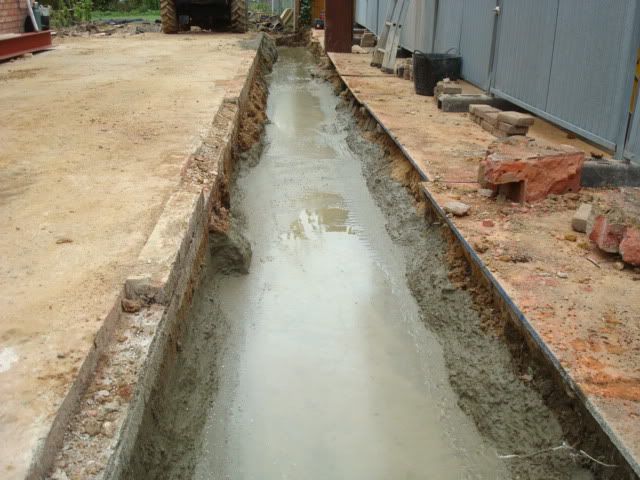
We VERY carefully set out our footings by banging in metal pins to the height we want using a laser level. Then to mark a step in the footing, we drop in 75mm increments.
All the steps you see are just that 75mm or 150mm. This means when the brickies arrive, they have no problems!
It takes a bit more time and effort to do, and the calcs for the readymix can be harder, but worth it.
We matched up to the old footing that was staying, and stepped it down to suit too!
Posted: Fri Apr 15, 2011 12:09 am
by GB_Groundworks
gay dog  haha
haha
saffy our 10 st 1.2 metre high irish wolfhound

like the little extension chute for the volumetric, how do you find the mix on the volumetrics had bad experience with poorly mixed crete from them.
dan what strength mix is that c15? id have gone full depth and level let the brickies come up in concrete commons/engineers etc. you not use a timber shutter to get a clean edge on the steps?
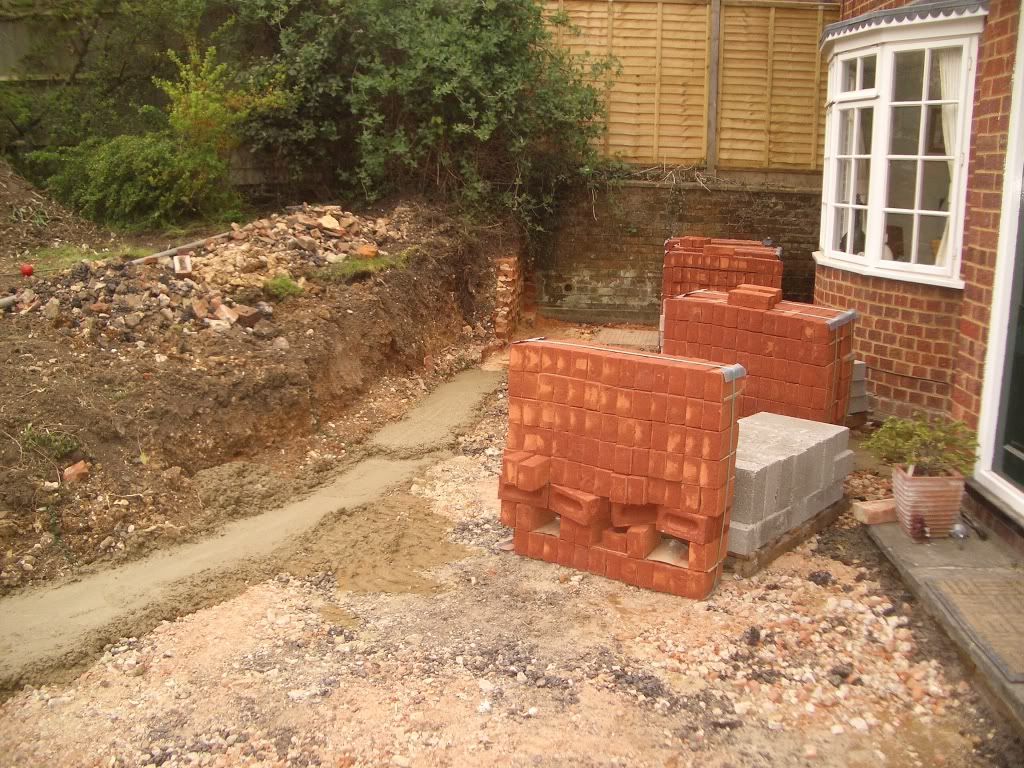
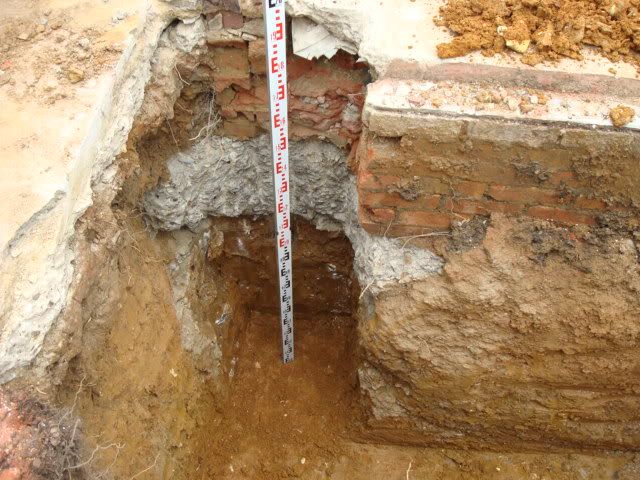
what was that before tony? 300mm crete then bricks then more crete? on the pic with the staff that is.
and tony groundworkers are always right haha, not the brickies lol 
Posted: Fri Apr 15, 2011 11:20 am
by lutonlagerlout
it was the old foundations we had to break through to get the new depth of 1800 giles :;):
the crowd we use custom concrete work the motorway as well and they only use gravel and grit sand,never all in ballast,as thats where the problems lie
and tiffles would knock your dog out with 1 paw :laugh:
LLL
£7 a month for food, how much does saffi eat?
Posted: Fri Apr 15, 2011 3:23 pm
by DNgroundworks
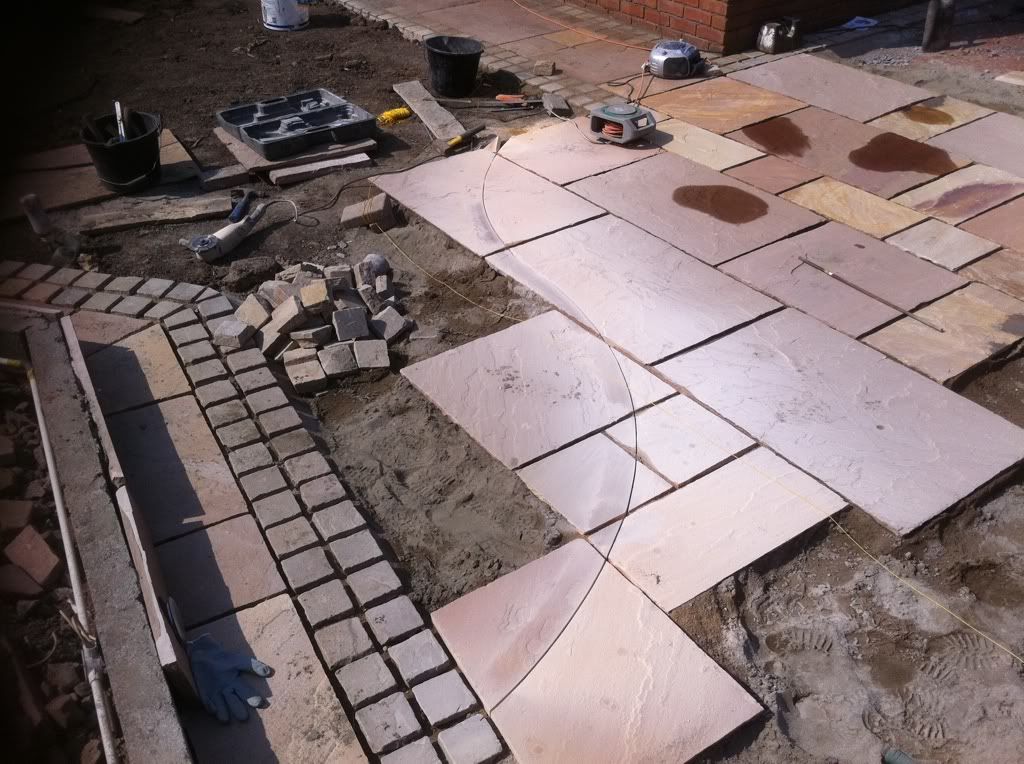
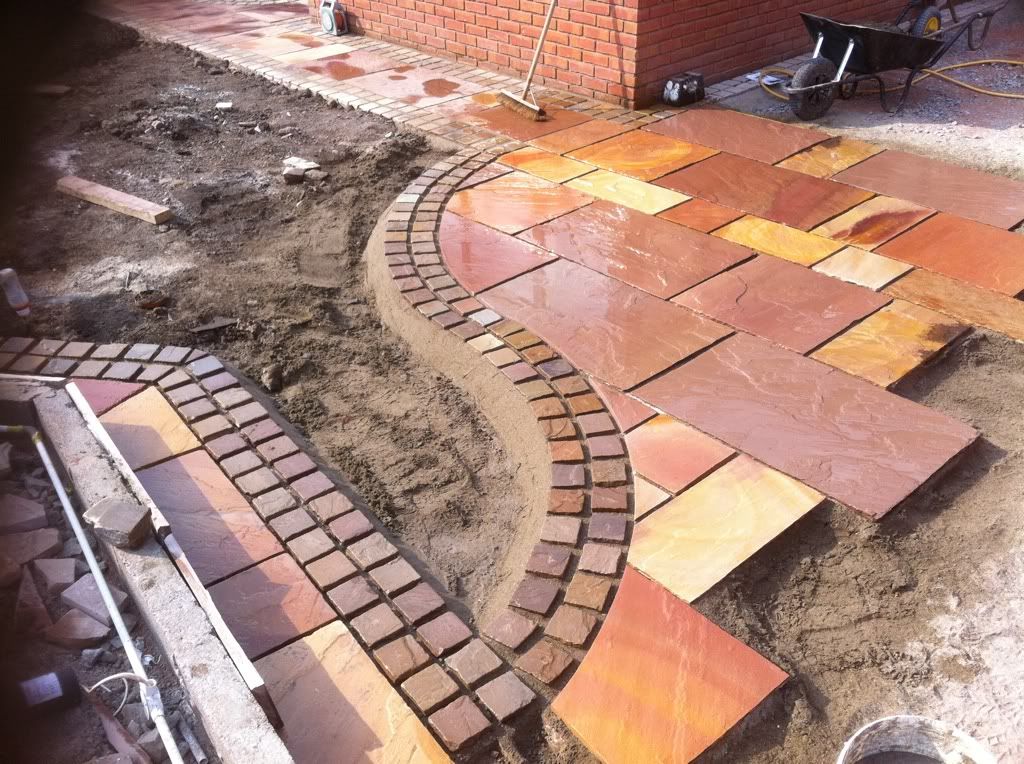
Real nice work there haggi, i lay a lot of them small setts, they really do finish the job i think, who does your designing?
Posted: Fri Apr 15, 2011 8:21 pm
by haggistini
I wouldn't want a bite off either dog as the neck and ankle are quite tender places for K9's to be latched on to ........@ DN I do my own drawings with auto CAD they are only basic but give the customer a good idea what the job will look like and help me to get the quantitys and setting out bang on . 
Posted: Fri Apr 15, 2011 8:42 pm
by dig dug dan
dan what strength mix is that c15? id have gone full depth and level let the brickies come up in concrete commons/engineers etc. you not use a timber shutter to get a clean edge on the steps?
its gen 1. If i went full depth, its more soil to get rid of, more bricks and more labour. Its only going to be 6 courses high. No need for wooden shuttering when the bricks will just step over them and they are hidden, so thye do not need to be a clean edge.
Posted: Sat Apr 16, 2011 3:20 am
by lutonlagerlout
haggistini wrote:I wouldn't want a bite off either dog as the neck and ankle are quite tender places for K9's to be latched on to ........@ DN I do my own drawings with auto CAD they are only basic but give the customer a good idea what the job will look like and help me to get the quantitys and setting out bang on . 
I wouldn't describe haggis drawings as basic dan
they are far far better than your average bloke can do
and as for 6 course walls I have seen them built of a layer of levelled sand due to a book called " the knack" hehe
LLL 
Posted: Sat Apr 16, 2011 7:30 am
by haggistini
Thanks tony but they are basic compared to the gaffers I just make sure when I sketch the job out that I take every measurement possible including any angles as they tend to throw you out on the drawing . It's not that difficult to transfer your sketch to cad it just takes time to learn the software . What I find hard is dropping in the detail of slabs and setts 
Posted: Thu Apr 21, 2011 9:49 pm
by lutonlagerlout
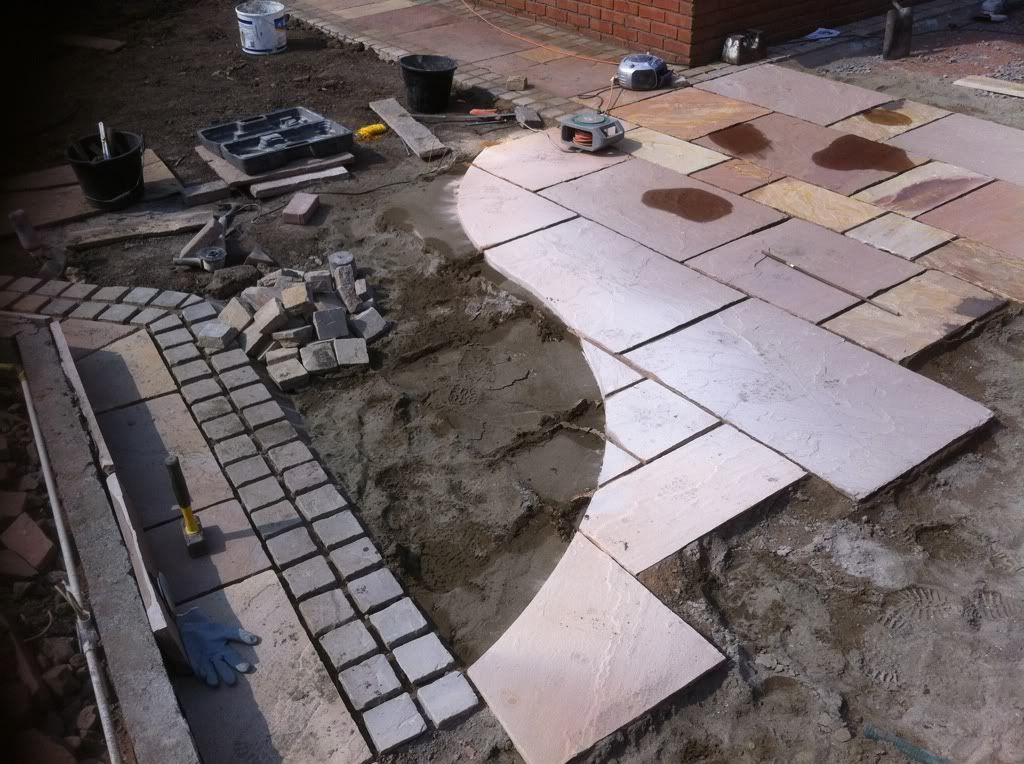
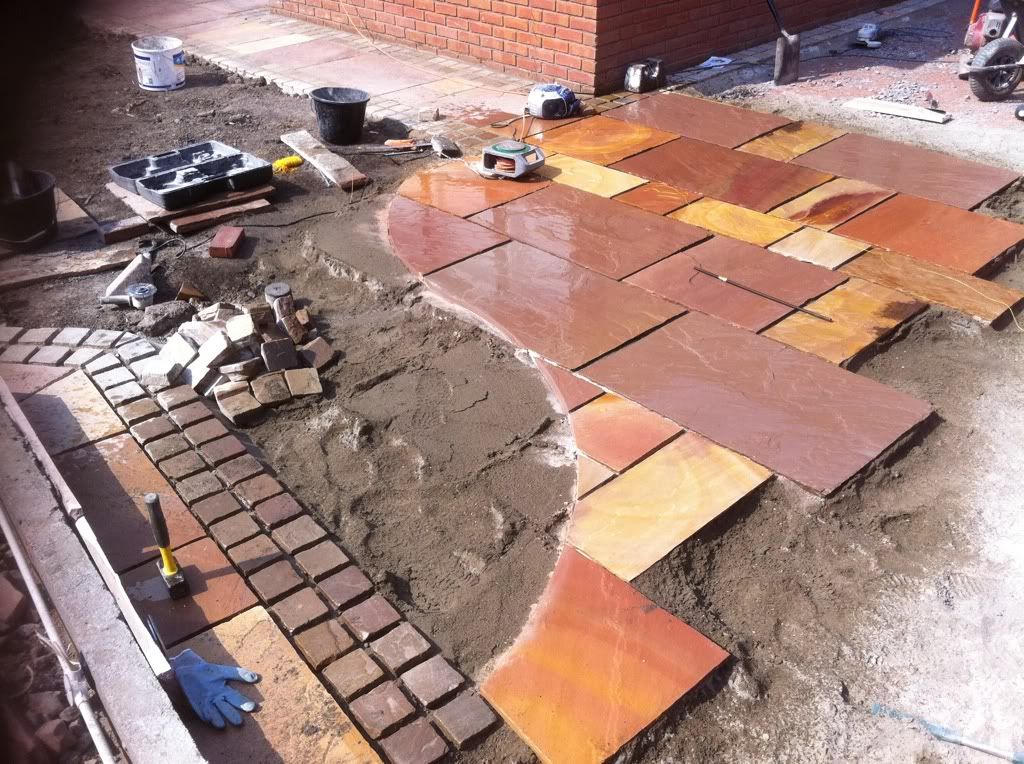
awesome work haggi
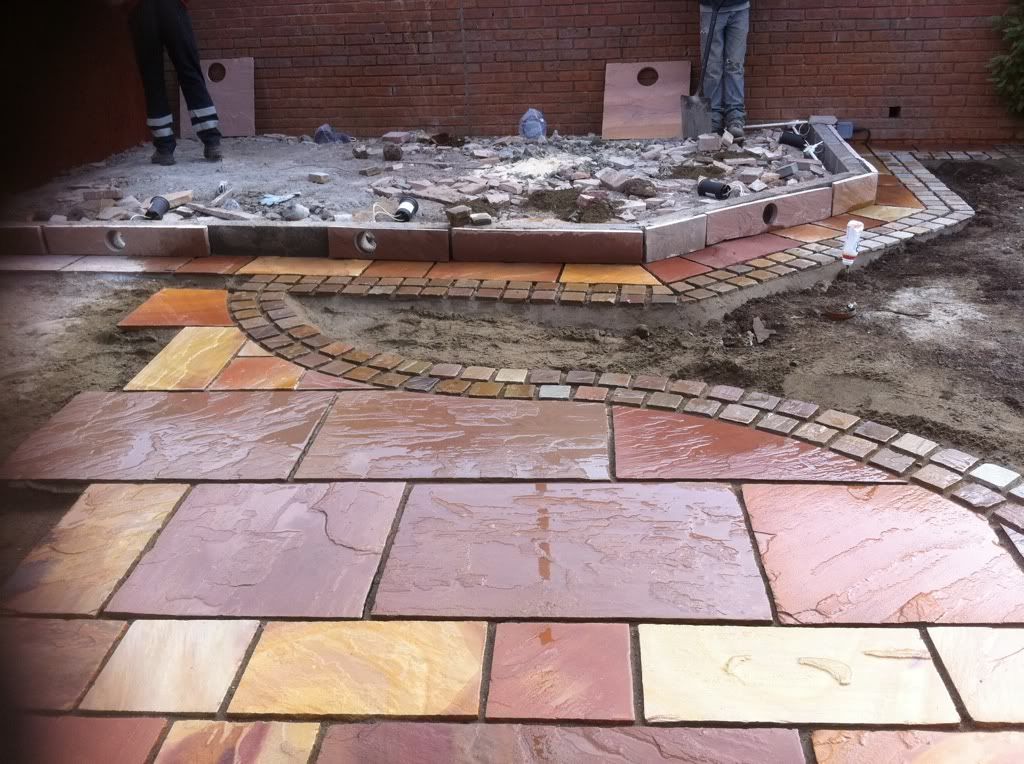
2 things i would pick you up on are no guard on the 100mm cutter and 240 power
danger and double danger
the quality of the cutting is the finest
what did you use to core the holes for the lights?
I had to core some 180mm holes in sandstone a few years ago and it cost an arm and a leg for a special pillar diamond core cutter,mind you the sandstone was 50mm thick in them days
I bet they are happy
LLL 
Posted: Fri Apr 22, 2011 6:38 am
by cookiewales
a patio to new house in brough east riding was a sloping garden take a browse  http://s742.photobucket.com/albums....20tears
Posted: Fri Apr 22, 2011 7:15 am
by haggistini
Nice use of timber bigman don't see it enough . Looks the biz are those setts aplenty?
@ LLL yes I have been a bit stupid with the grinder and will need to invest in 110 kit just thought I'd show how I got the cuts done.
The holes were cut with a makita hole kit I needed a 185 mm for uplighters but will have to grind the backs off to get them flush now .. Will put guard back on before something go's bad.
Ps cookie i got a tidy pad for your slab sucker and spare battery!

