Page 2 of 2
Posted: Tue Nov 13, 2012 8:30 pm
by rimexboy
When we had this fitted we had to have the chimney swept and a section of flue fitted to ensure smoke could not come back down.
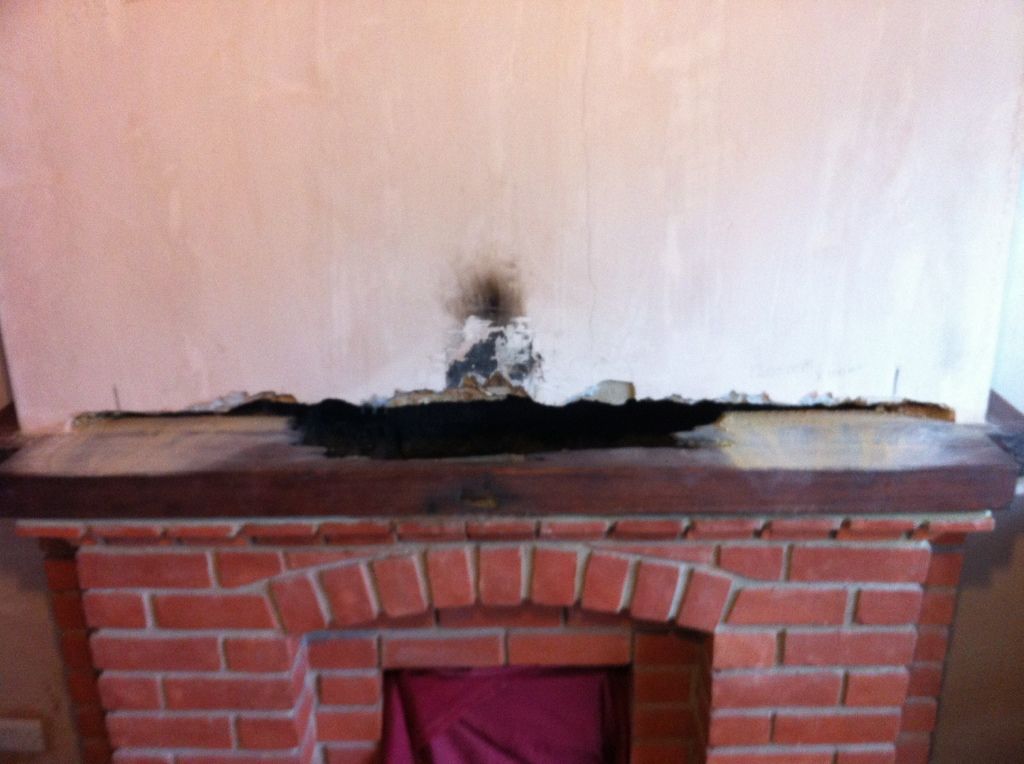
As for the wood going into the fire place itself instead of in front like you say is what's caused the problem as its in direct contact with the heat source.
Thanks Simon
Posted: Tue Nov 13, 2012 9:38 pm
by digerjones
you want to be very carefull there, think you have been very lucky. the woodburner looks tight in that hole, you need space around it, 150mm all round maybe. you dont nessasarly need a flue liner but if you put say 500mm of solid flue pipe on top of stove, it needs to pass through a regester metal plate then you need to shape above this with compo. so any thing coming down flue goes into fire and not on a ledge above fire.
Posted: Wed Nov 14, 2012 5:53 am
by lutonlagerlout
in retrospect that is another issue
the last one we did around 6 weeks ago we had to remodel the fireplace for the reasons dylan outlined above
Personally I dont think it looks right with 150mm all round but I am sure it is some sort of regulation now
cheers LLL
Posted: Thu Nov 15, 2012 10:01 pm
by sussex
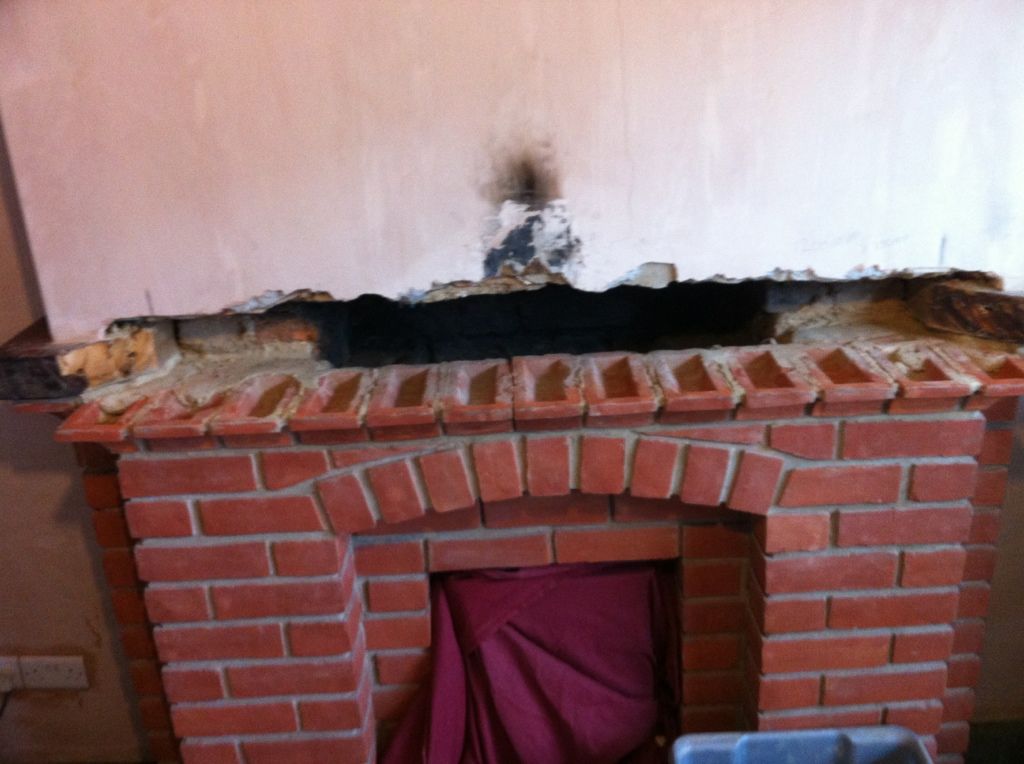
Just seen your pics ,lucky dos,nt even get close to it!!!think LLL is spot on with liner,i know some wood burners can be installed without one but for peace of mind s/s liner (they are bloody expensive) is the way forward.Good luck
Posted: Fri Nov 23, 2012 4:01 pm
by lutonlagerlout
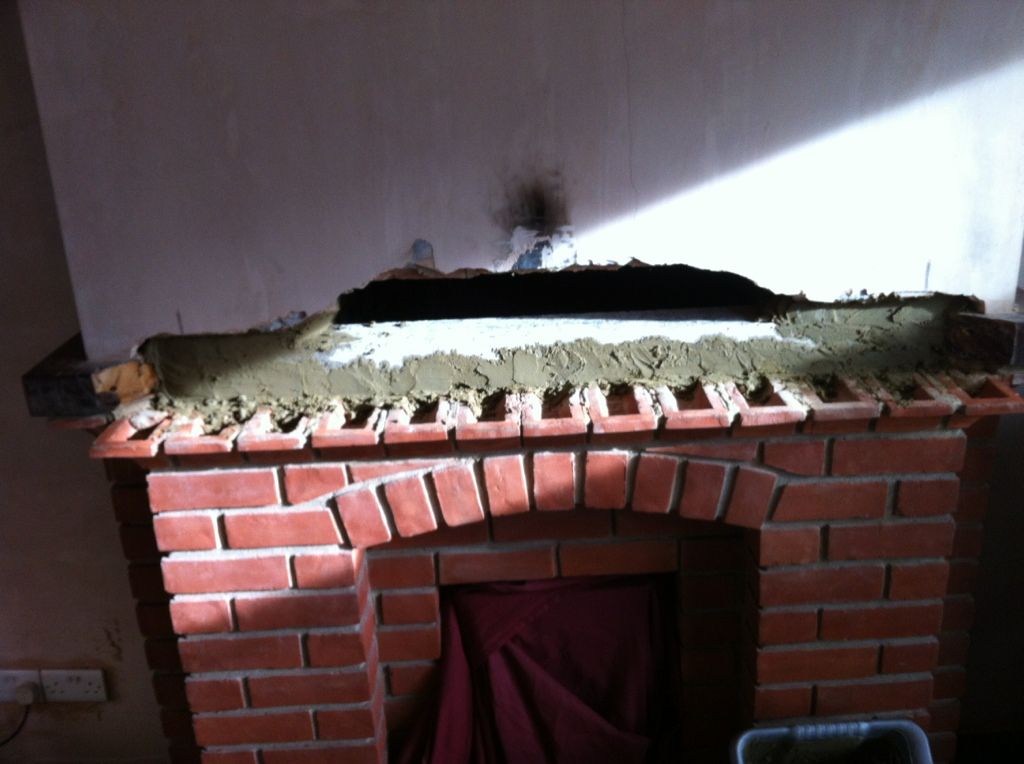
bag of bonding and a bag of easi fill should see that right
LLL
Posted: Fri Nov 23, 2012 4:17 pm
by rimexboy
Nice one tony I will have ago over the week end thanks again
Simon
Posted: Fri Nov 23, 2012 11:33 pm
by London Stone Paving
That's a fair private plate Simon, I bet it's worth more than the car :;):
Posted: Sat Nov 24, 2012 8:35 am
by rimexboy
London Stone Paving wrote:That's a fair private plate Simon, I bet it's worth more than the car :;):
Ha ha no it was only a cheap one the proper ones go for silly money, which I have not got.
Thanks Simon
Posted: Sat Dec 08, 2012 3:05 pm
by rimexboy
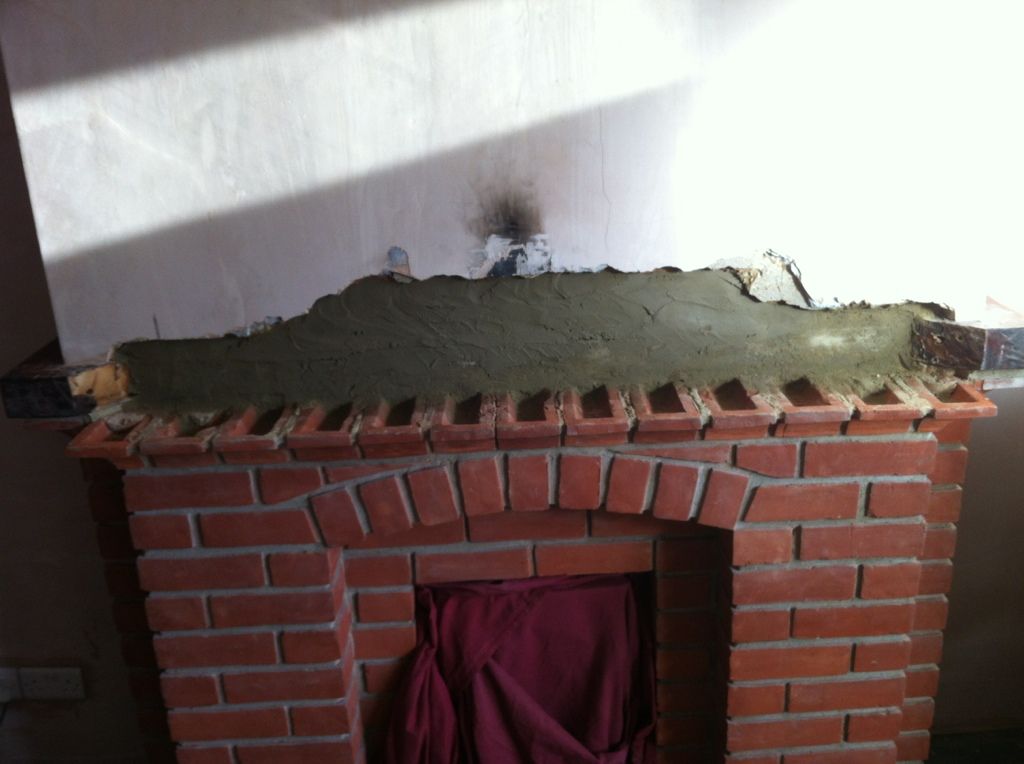
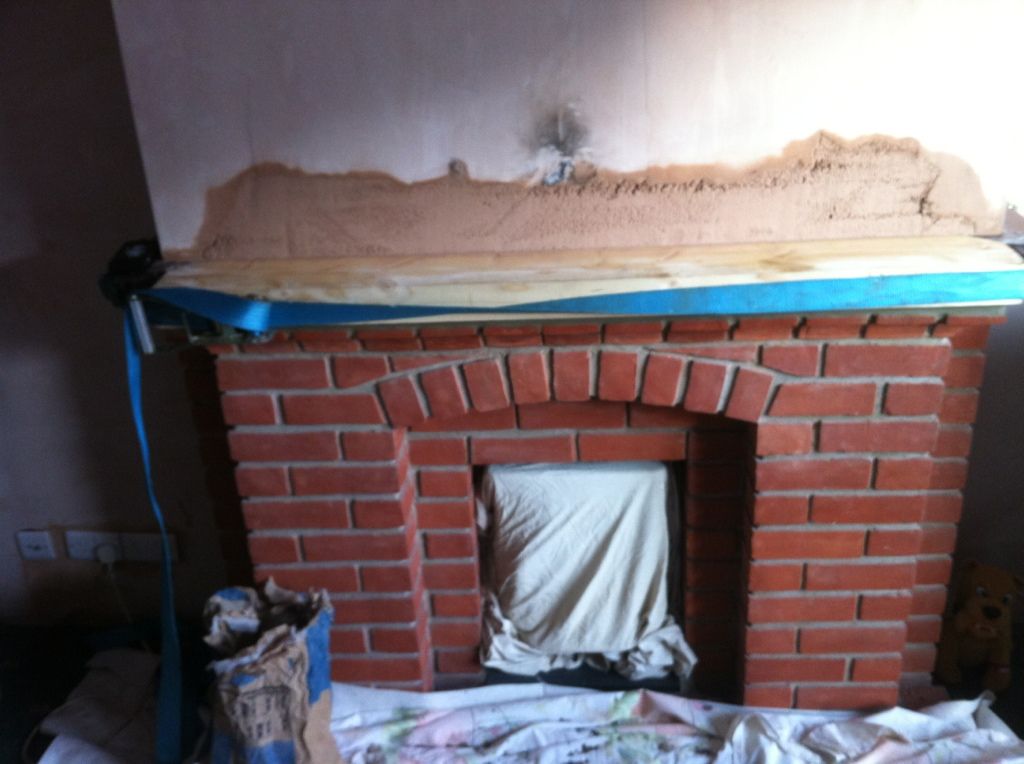
Cleaned area up and unibonded it first,
Cut and fitted new piece of wood, also put some screws in the bottom pertruding so to bed into the miter below
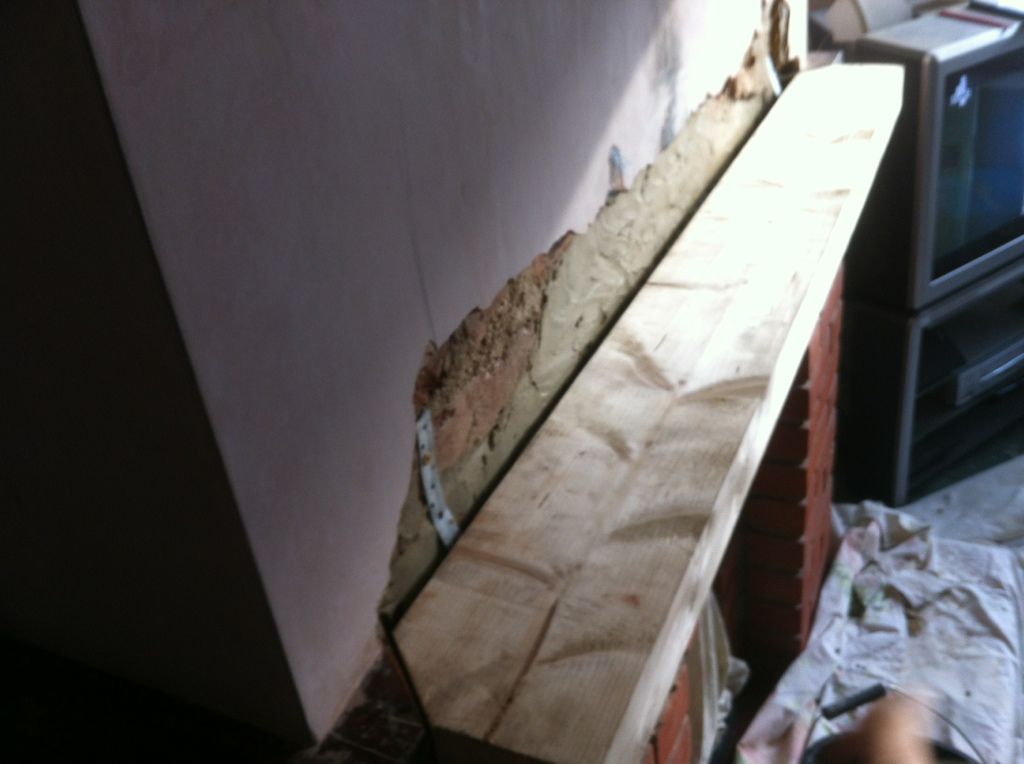
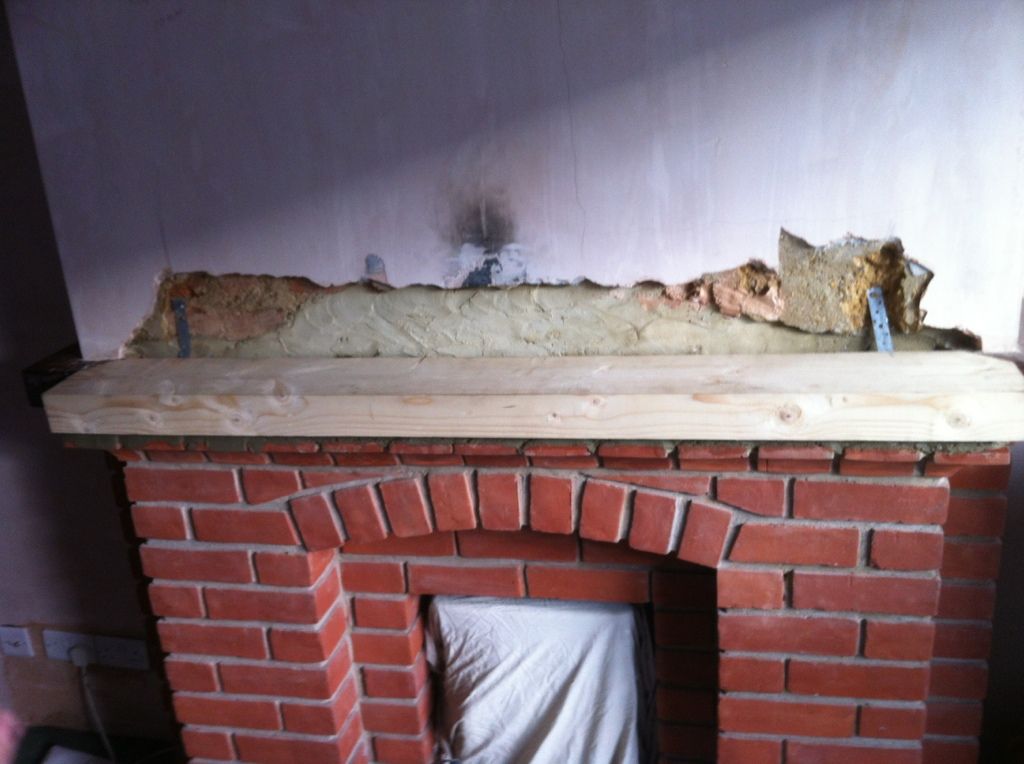
Then bonded it, and fitted a strap to keep it in place until it dries out, will skim when dry...
Thanks Simon


