Every possibe way of cleaning paving!
-
London Stone Paving
- Posts: 2199
- Joined: Mon May 10, 2010 1:07 pm
- Location: Surrey
- Contact:
-
London Stone Paving
- Posts: 2199
- Joined: Mon May 10, 2010 1:07 pm
- Location: Surrey
- Contact:
-
Forestboy1978
- Posts: 1000
- Joined: Sun Oct 23, 2011 9:57 am
- Location: southampton, hampshire
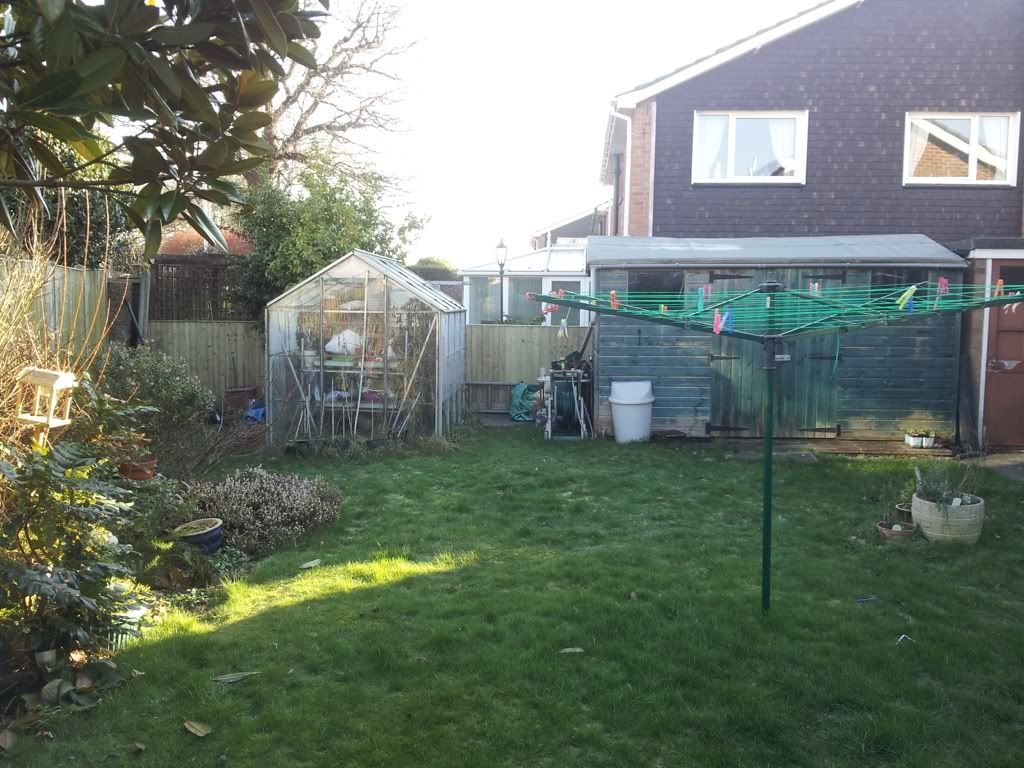
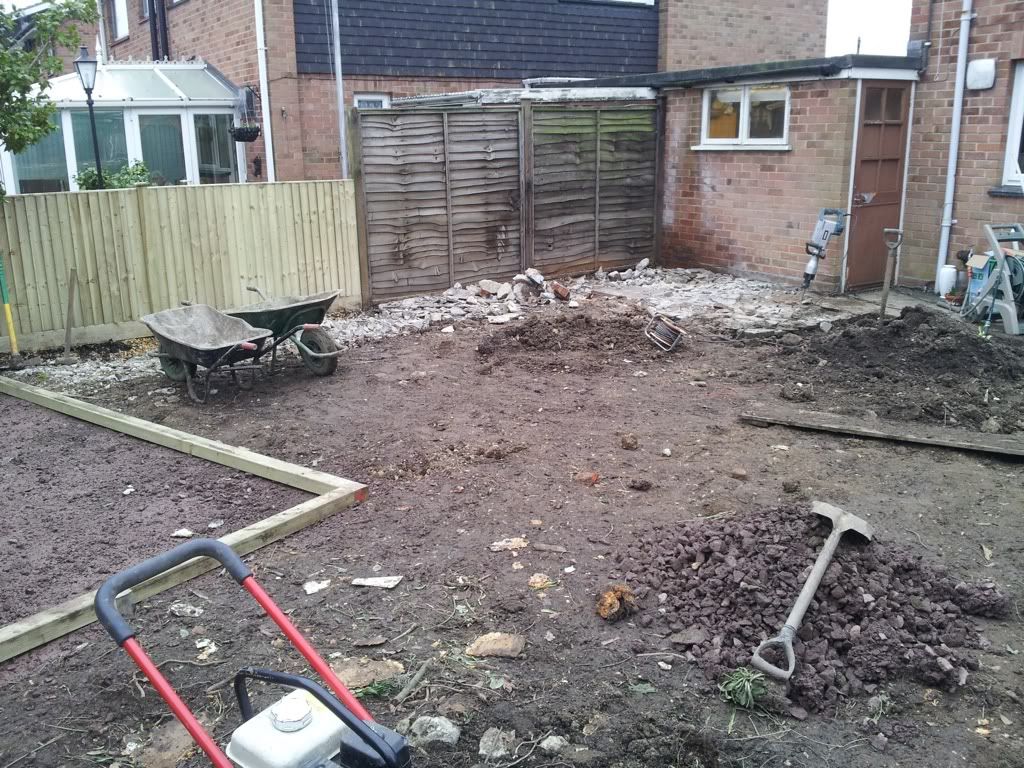
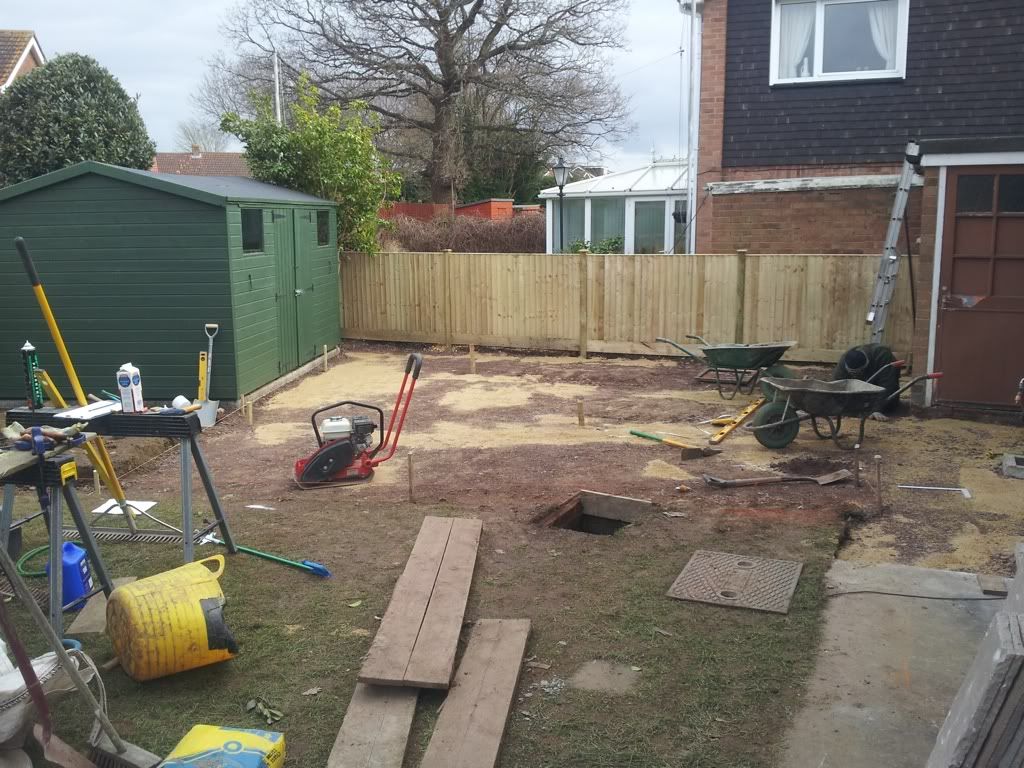
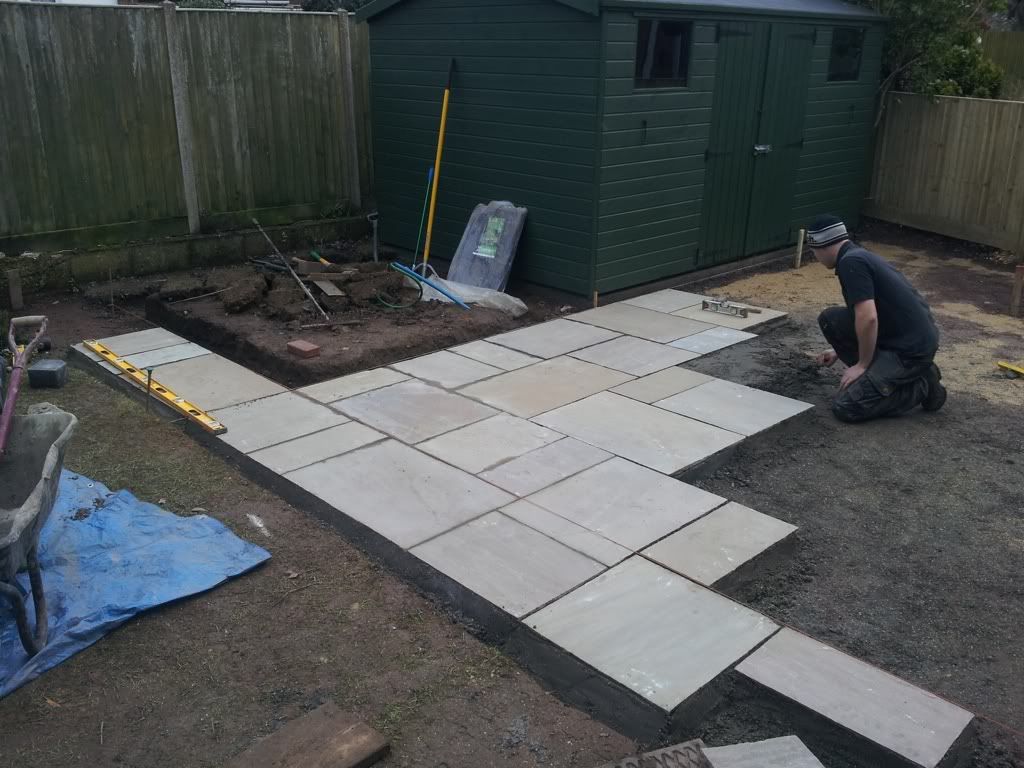
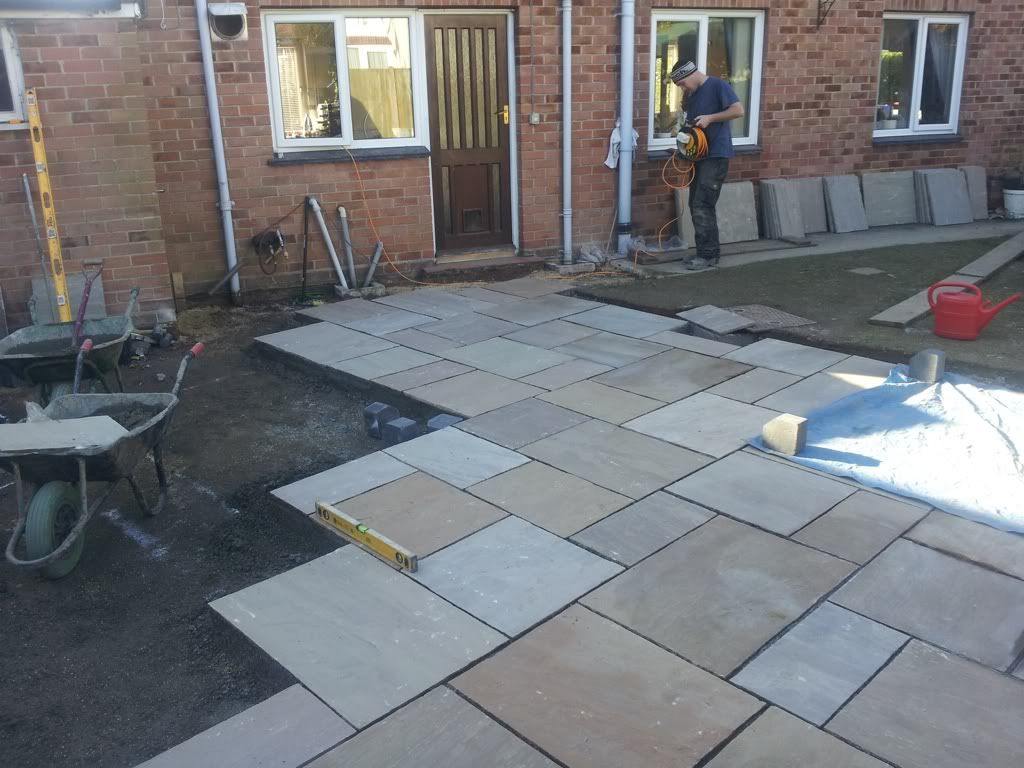
Things are looking good. Starting doing all the cuts today. Quite slow as the patio is at about 120 degree angle from the house and there are 3 raised beds being positioned in it. there is also a protruding garage and a lot of work to be done to cut around there drain pipes etc. Also they have added a small extension to it in replacement of the small step leading to their kitchen so still alot to do but all in all I am happy with it at this stage.
I'll never get uncalibrated stone again though and the course is made up of 5 shapes 14cms apart which I haven't enjoyed. Considering this and the fact that the stones were not cut amazingly well either it's a good job. Couple of 5mm joints max and a couple uround 30mm but all in all they are pretty ok. No intersections obviously and no jutting of lines etc. Got a single 3 metre long line in there and 1 or 2 places with same size stones in close proximity but offset so all in all I'm happy.
Took all morning to rake out those mortar joints but I've decided to go with a coloured mortar anyhow so it's good it's out of the way.
Cement stains came off with boiling water and detergent and scrubbing with a brush. First time I've not felt stressed so far this week.
-
haggistini
- Posts: 1405
- Joined: Thu Sep 27, 2007 10:29 am
- Location: South Wales
- Contact:
-
haggistini
- Posts: 1405
- Joined: Thu Sep 27, 2007 10:29 am
- Location: South Wales
- Contact:
Post a pic as I'm confused!Forestboy1978 wrote:Things are looking good. Starting doing all the cuts today. Quite slow as the patio is at about 120 degree angle from the house and there are 3 raised beds being positioned in it. there is also a protruding garage and a lot of work to be done to cut around there drain pipes etc. Also they have added a small extension to it in replacement of the small step leading to their kitchen so still alot to do but all in all I am happy with it at this stage.
I'll never get uncalibrated stone again though and the course is made up of 5 shapes 14cms apart which I haven't enjoyed. Considering this and the fact that the stones were not cut amazingly well either it's a good job. Couple of 5mm joints max and a couple uround 30mm but all in all they are pretty ok. No intersections obviously and no jutting of lines etc. Got a single 3 metre long line in there and 1 or 2 places with same size stones in close proximity but offset so all in all I'm happy.
Took all morning to rake out those mortar joints but I've decided to go with a coloured mortar anyhow so it's good it's out of the way.
Cement stains came off with boiling water and detergent and scrubbing with a brush. First time I've not felt stressed so far this week.
-
Forestboy1978
- Posts: 1000
- Joined: Sun Oct 23, 2011 9:57 am
- Location: southampton, hampshire
-
Carberry
- Posts: 1366
- Joined: Fri Apr 15, 2011 9:05 pm
- Location: Edinburgh
lutonlagerlout wrote:40m2 would cost around £80 for lithofin MN stainstop
lets make things easier not harder :;):
LLL
How do I YouTube this clip ?
Blackadder clip
Right click save as to find file name is Blackadder_fagin, google blackadder drumsticks up nose, one of the responses is youtube video clip
-
haggistini
- Posts: 1405
- Joined: Thu Sep 27, 2007 10:29 am
- Location: South Wales
- Contact:
-
Forestboy1978
- Posts: 1000
- Joined: Sun Oct 23, 2011 9:57 am
- Location: southampton, hampshire
Why do I get the feeling I am going to regret this.haggistini wrote:Forestboy1978 wrote:I would I just only have them saved on dropbox and my comp and phone and for some reason this site wont let me upload from any of them!
Email me and I'll post them for you FB
Ok.. give me a few minutes. Also bear in mind that this is my 3rd ever patio. Oh dear..... well in all seriousness I welcome constructive criticism, just don't be nasty
-
haggistini
- Posts: 1405
- Joined: Thu Sep 27, 2007 10:29 am
- Location: South Wales
- Contact:
Fecking Funny!Carberry wrote:lutonlagerlout wrote:40m2 would cost around £80 for lithofin MN stainstop
lets make things easier not harder :;):
LLL
How do I YouTube this clip ?
Blackadder clip
Right click save as to find file name is Blackadder_fagin, google blackadder drumsticks up nose, one of the responses is youtube video clip
-
Forestboy1978
- Posts: 1000
- Joined: Sun Oct 23, 2011 9:57 am
- Location: southampton, hampshire
I've emailed you 8 of images. There are cement stains on them as I haven't yet taken a photo since cleaning them but I'll happily take more as the days progress as I think it would be very usefull to get you guys feedback.
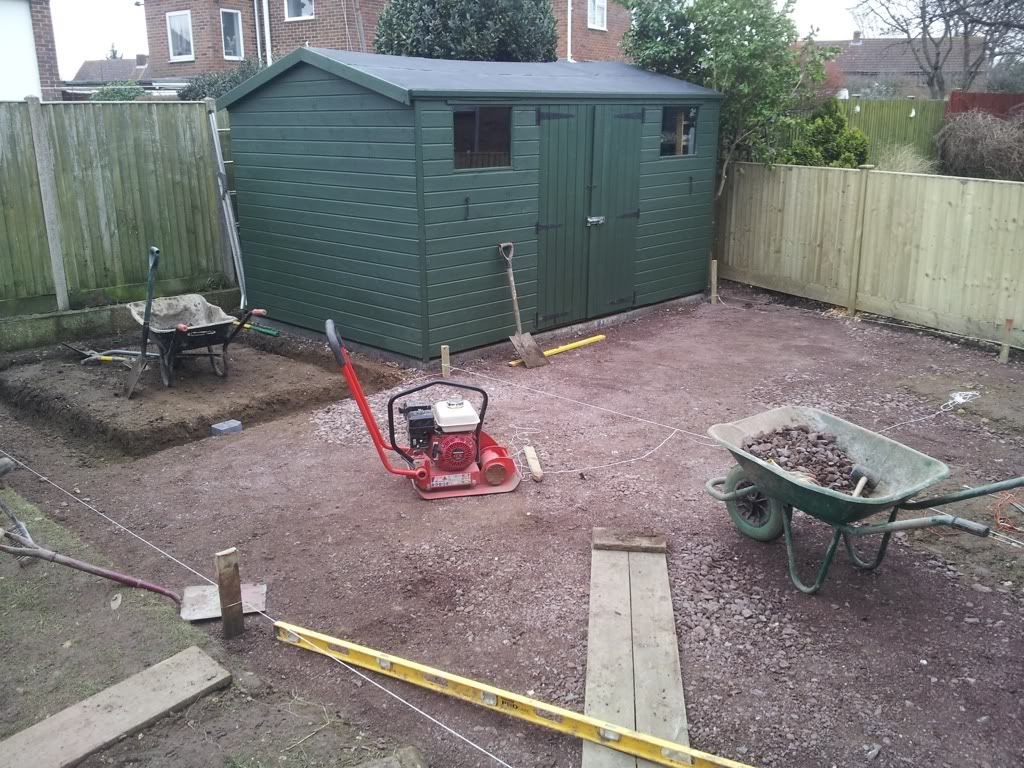
Re the squares in the patio. I just laid the flags over the lines where the beds are to be positioned. Only done 2 of the 3 so far. My thinking was to cut cut the shape to drop the beds in after laying the flags uncut to make it easier. Perhaps this was not the wise thing to do. It will involve bolsering up some mortar I guess but the exact positioning of the beds has not been fully determined so I decided to go about it this way.
the trench in the top left corner is for a concrete greenhouse foundation. I'm going to top in with edging stones.
-
Forestboy1978
- Posts: 1000
- Joined: Sun Oct 23, 2011 9:57 am
- Location: southampton, hampshire
-
London Stone Paving
- Posts: 2199
- Joined: Mon May 10, 2010 1:07 pm
- Location: Surrey
- Contact:
Photo bucket is a doddle, even I mananged to use it.
Open an account
Upload your pictures
Once the pictures have been uploaded the pictures will appear in your photbucket "album"
Below the picture there will be a code.
click on the code which will highlight the code
Press "control" and "c" on your keyboard which will then copy the code
Go into your paving expert post and click the cursor where you want the picture to appear click "control" and "v" which will paste the photo into your post
-
haggistini
- Posts: 1405
- Joined: Thu Sep 27, 2007 10:29 am
- Location: South Wales
- Contact:
-
London Stone Paving
- Posts: 2199
- Joined: Mon May 10, 2010 1:07 pm
- Location: Surrey
- Contact:

