More advice regarding a free edge on patio - Correct order
-
deegan1979
- Posts: 99
- Joined: Tue May 19, 2015 2:04 pm
- Location: kent
Hi guys, I am facing yet another dilemma.
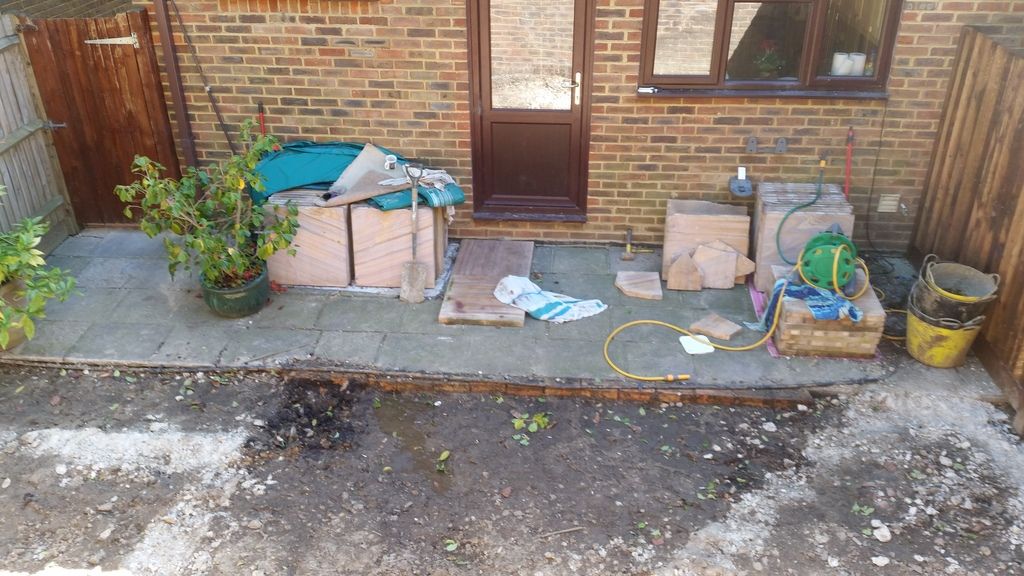
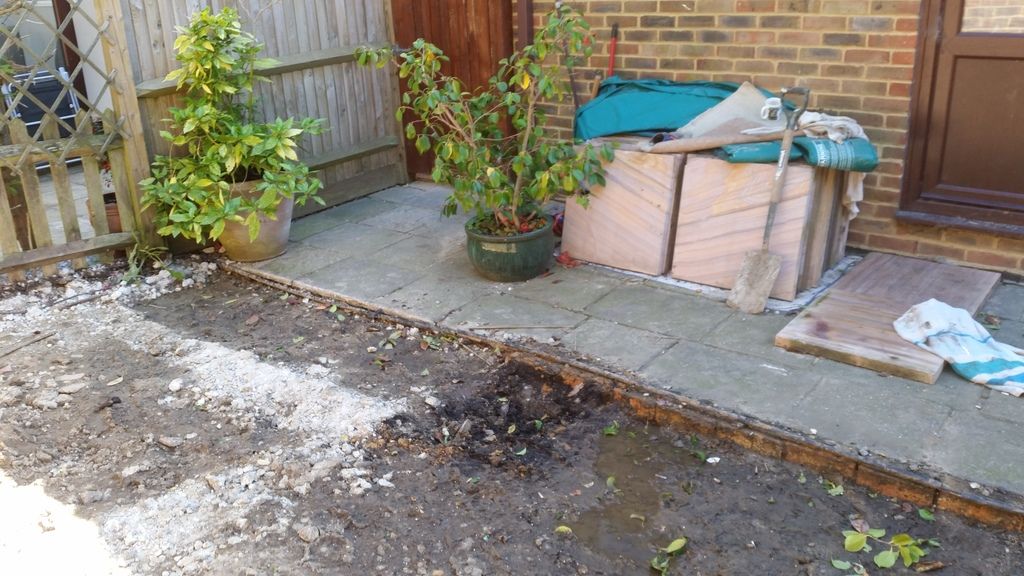
My existing patio extends 1.8 m from the wall off my house with a fall in places of up to 2" away from the house.
The garden then extends 4 meters to a retaining wall.
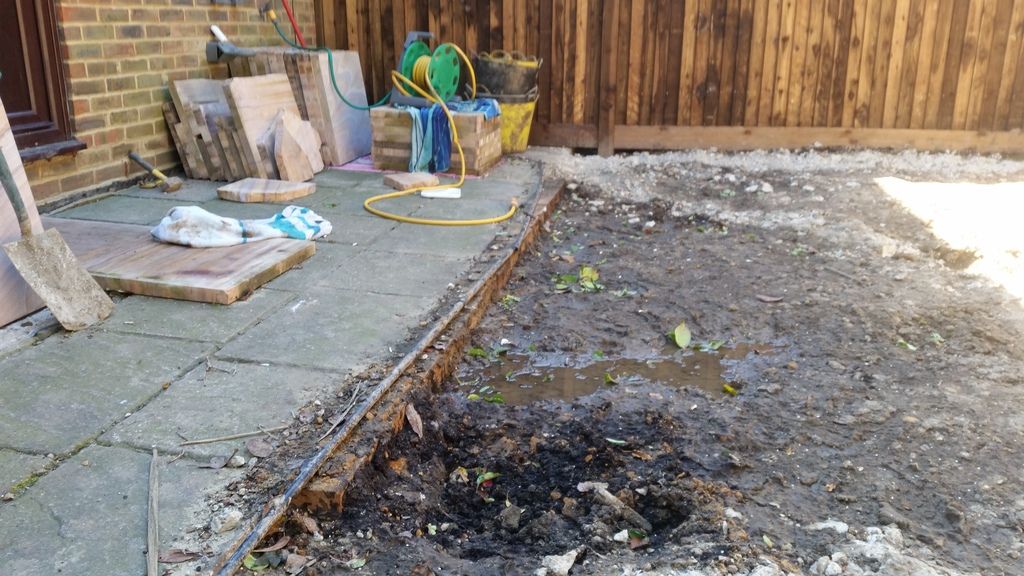
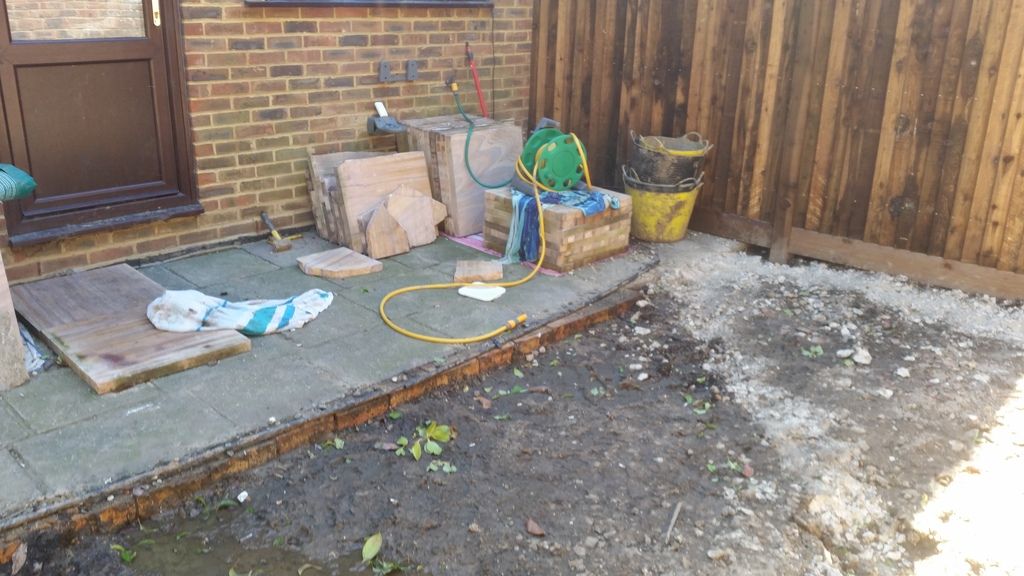
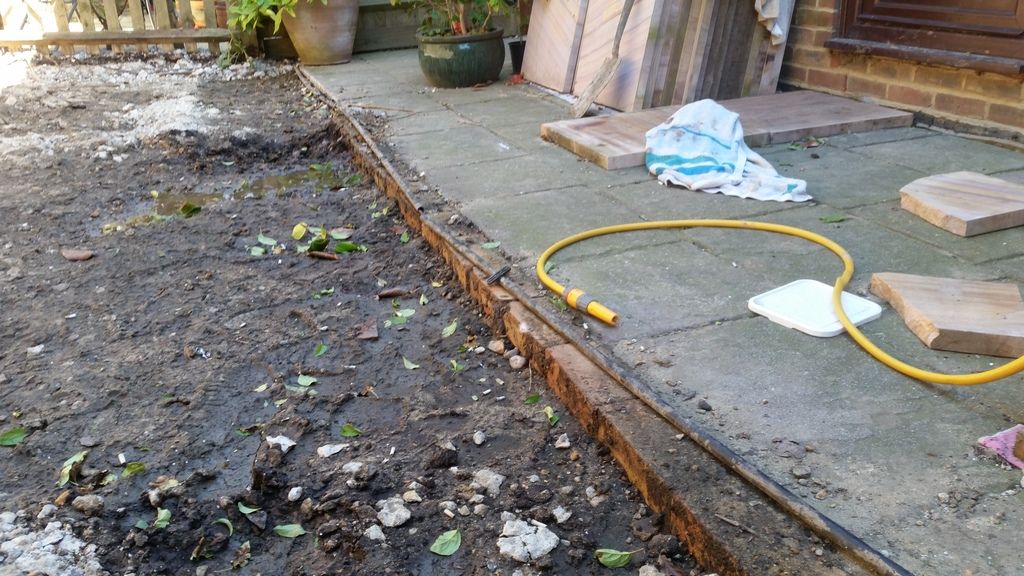
I have already dug the non patio area out to 4" below the patio to apply the base for astroturf.
This weekend I am lifting the existing slabs .
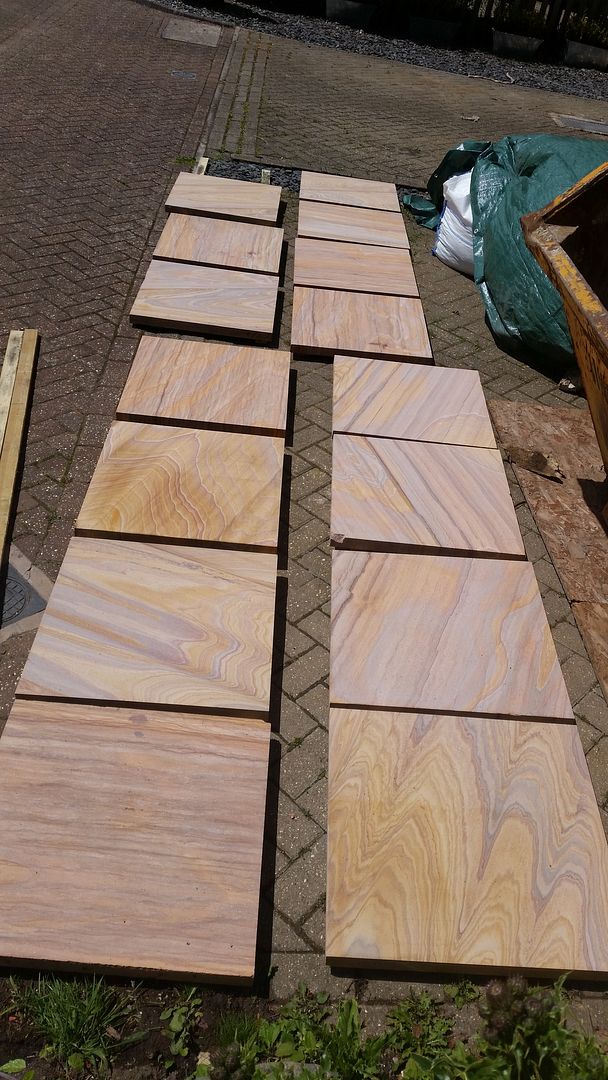
I plan to lay my new slabs in exactly the same place.
obvisously i will be adding to the base and filling what ive dug out for the turf.
heres the dillema.
if i fill the turf area with type 1 and add to the patio base with it also then lay my slabs. I will then need to add more type 1 to the turf area to bring it up to the correct hight so the turf and patio are flush. This will involve using a whacker along the freshly laid free edge which i wasnt planning to haunch insted i will use a bridging bond.
is using the wacker near the edge going to un settle and disturb the free edge ? Or should i be doing it a different way?
many thanks to u all (again)
Tellytubby
-
seanandruby
- Site Admin
- Posts: 4713
- Joined: Mon Jun 26, 2006 11:01 am
- Location: eastbourne
-
deegan1979
- Posts: 99
- Joined: Tue May 19, 2015 2:04 pm
- Location: kent
-
deegan1979
- Posts: 99
- Joined: Tue May 19, 2015 2:04 pm
- Location: kent
-
deegan1979
- Posts: 99
- Joined: Tue May 19, 2015 2:04 pm
- Location: kent
Just found a page on here relating to free edges...
Am going to use the bridge bong on all slabs anyway plus using the 6 to 1 wet mix I'm using for all the slabs I will haunch the edge with the same mix up to 20mm below the slab surface and taper it down about 100 mm past the edge.
I will then tamp the type 1 closest to the edge with a hand tamper.
Think that's it
Tellytubby
-
seanandruby
- Site Admin
- Posts: 4713
- Joined: Mon Jun 26, 2006 11:01 am
- Location: eastbourne
-
deegan1979
- Posts: 99
- Joined: Tue May 19, 2015 2:04 pm
- Location: kent
Hi mate. I get what u are saying. So lay my mot all over then add more to the raised turf side roughly to where the join should be so that once the slabs are down I can pack the edge ( over the haunching by hand)?seanandruby wrote:Didn't mean dig deeper, i meant dig wider than your edge. You could also place all the mot in one go and just alter the level along your edging slightly, better for wacking down in one go rather than disturb your free edge. Hope this makes sense had a tiring week?
Yep always a long week, flat out doing kitchens in the week and some evenings then back to this.
Tellytubby
-
deegan1979
- Posts: 99
- Joined: Tue May 19, 2015 2:04 pm
- Location: kent
-
seanandruby
- Site Admin
- Posts: 4713
- Joined: Mon Jun 26, 2006 11:01 am
- Location: eastbourne
Set your string line and dip down to top of sub base 40ml bedding plus your flag thickness. Where you starting your turf dip down to top of sub base your sand and turf thickness combined, so if it's recommended 20ml sand add that to turf thickness. Example: 20 ml sand plus 20 ml turf =40ml dip to top of sub base :;):
Doing a full days work then training for a 60 mile bike ride at night, do 10 miles plus every night and 30 or so at weekend, also doing gym workout few nights to build up for it and work in a couple of 5 mile runs whenever
Doing a full days work then training for a 60 mile bike ride at night, do 10 miles plus every night and 30 or so at weekend, also doing gym workout few nights to build up for it and work in a couple of 5 mile runs whenever
sean
-
deegan1979
- Posts: 99
- Joined: Tue May 19, 2015 2:04 pm
- Location: kent
Mate I don't know how u do it, I feel broken just from doing this....seanandruby wrote:Set your string line and dip down to top of sub base 40ml bedding plus your flag thickness. Where you starting your turf dip down to top of sub base your sand and turf thickness combined, so if it's recommended 20ml sand add that to turf thickness. Example: 20 ml sand plus 20 ml turf =40ml dip to top of sub base :;):
Doing a full days work then training for a 60 mile bike ride at night, do 10 miles plus every night and 30 or so at weekend, also doing gym workout few nights to build up for it and work in a couple of 5 mile runs whenever
I get what you are saying about the sand and turf will make up the thickness of the slab. But the area under the turf needs 40mm more type 1 to make up for the bed under the slabs. Not sure how I can make this up after laying the patio without disturbing the haunch'd edge when waking the extra 40 mm type 1 down.
I'm seriously broken after today. Will post a few
Pics later
Tellytubby
-
seanandruby
- Site Admin
- Posts: 4713
- Joined: Mon Jun 26, 2006 11:01 am
- Location: eastbourne
Deegan, you wouldn't have to make it up after because you should of placed the mot at a raised level, in effect stepping it up, that way it will all of been compacted and just a bit of regulating here and there. Don't lose heart it will be worth the nag', er, i mean pat on the back off the other half :laugh:
sean
-
deegan1979
- Posts: 99
- Joined: Tue May 19, 2015 2:04 pm
- Location: kent
-
deegan1979
- Posts: 99
- Joined: Tue May 19, 2015 2:04 pm
- Location: kent
-
seanandruby
- Site Admin
- Posts: 4713
- Joined: Mon Jun 26, 2006 11:01 am
- Location: eastbourne
